You Don't Need Talent to Start Watercolor
Most beginners hesitate for the same reason.
They think watercolor is difficult.
It looks unpredictable. Hard to control. Easy to mess up.
But that's not the real problem.
The real issue is not knowing what to do first.
When you search for watercolor techniques for beginners, you often find long lists — but not always something you can apply immediately.
This guide from LIGHTWISH focuses on one goal:
Give you simple techniques you can try today — without overthinking.
Let's start with what you actually need.
What You Need Before You Start
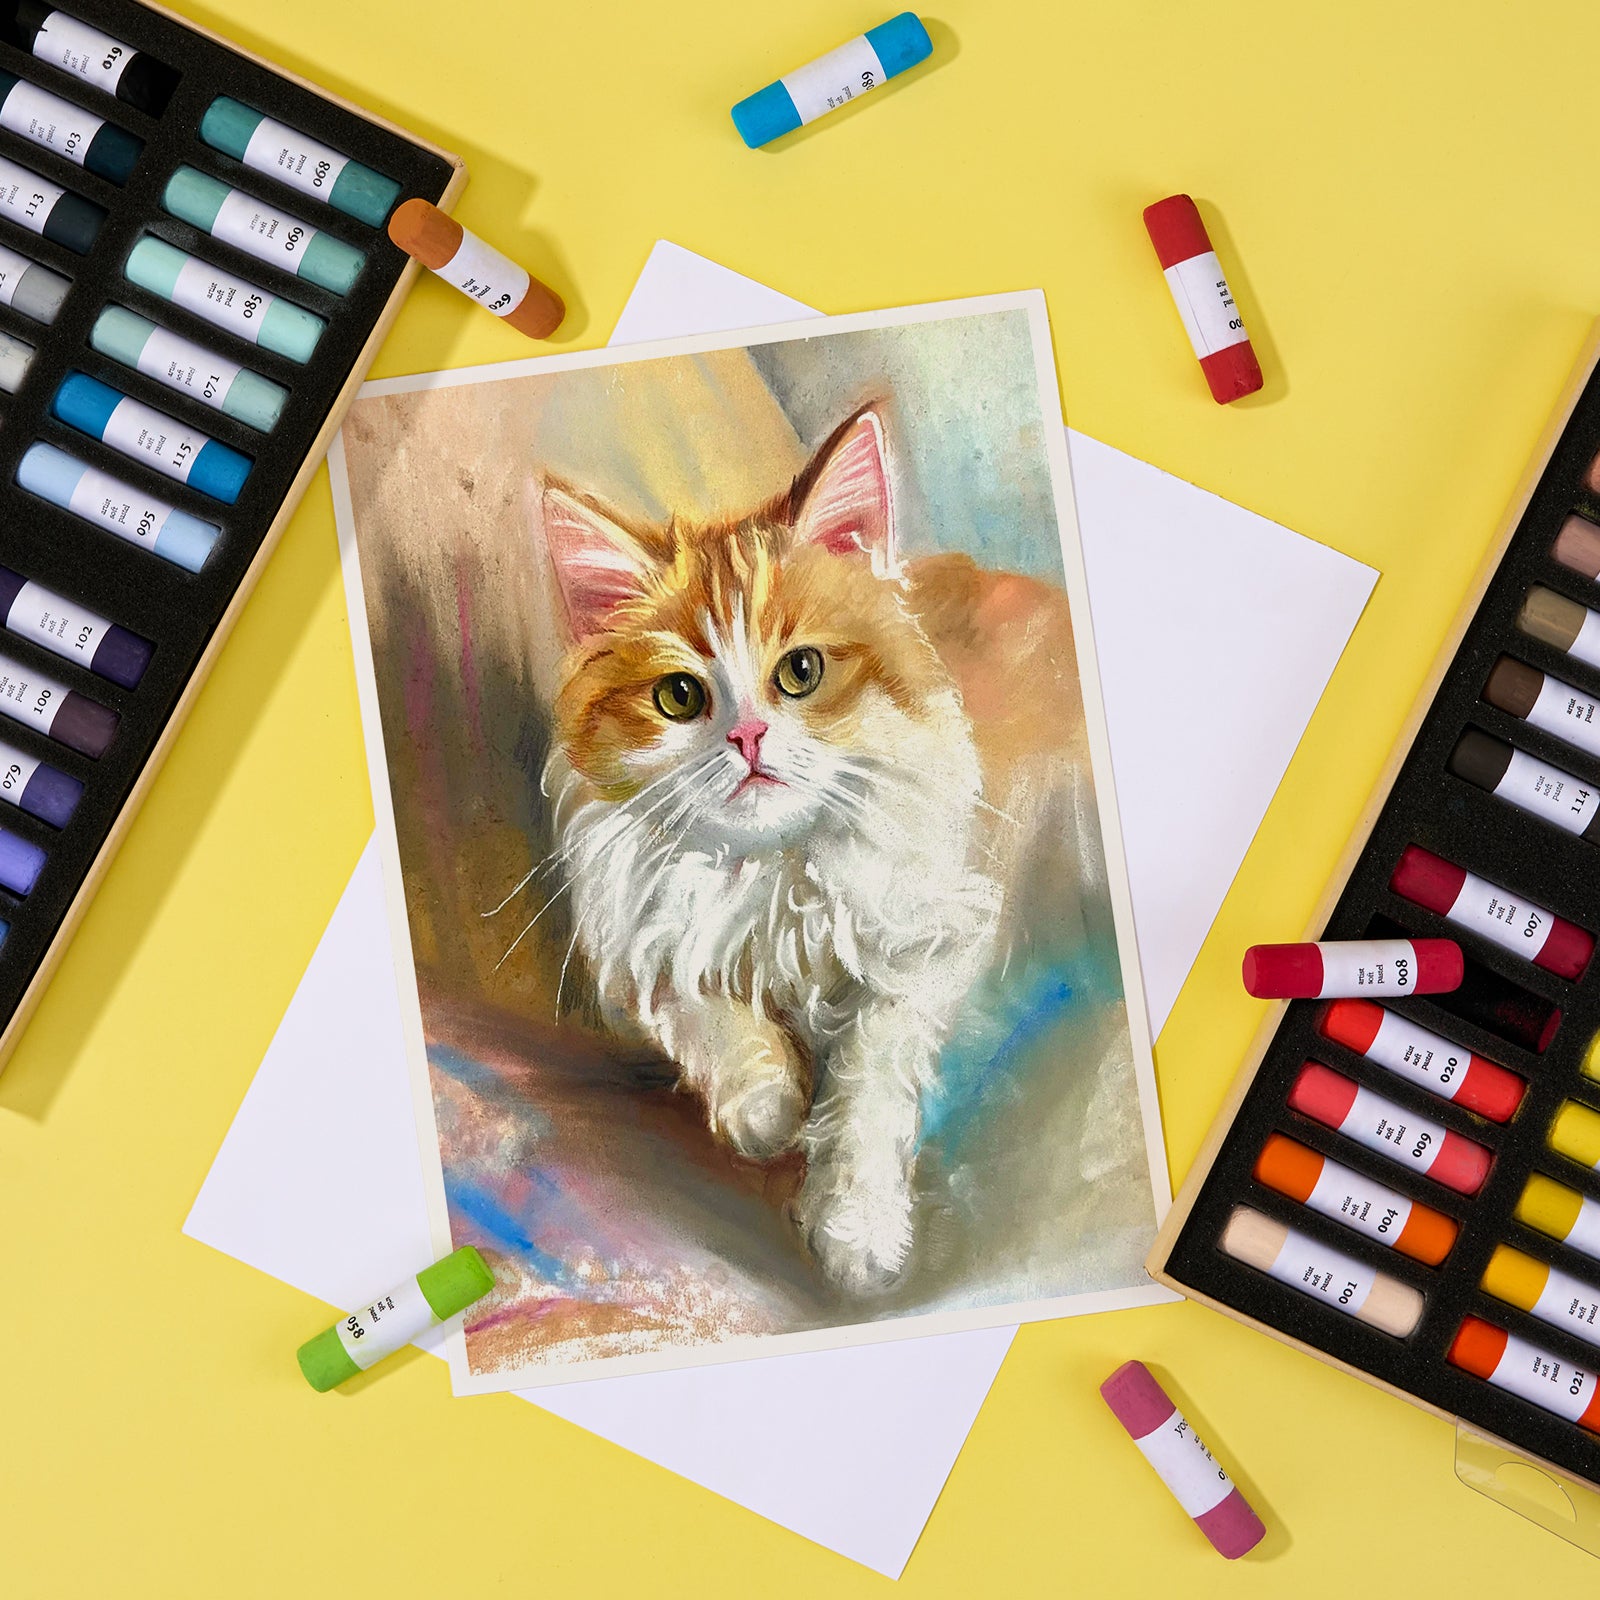
Before diving into any new watercolor techniques, do yourself a favor and simplify your workspace. You literally only need four items:
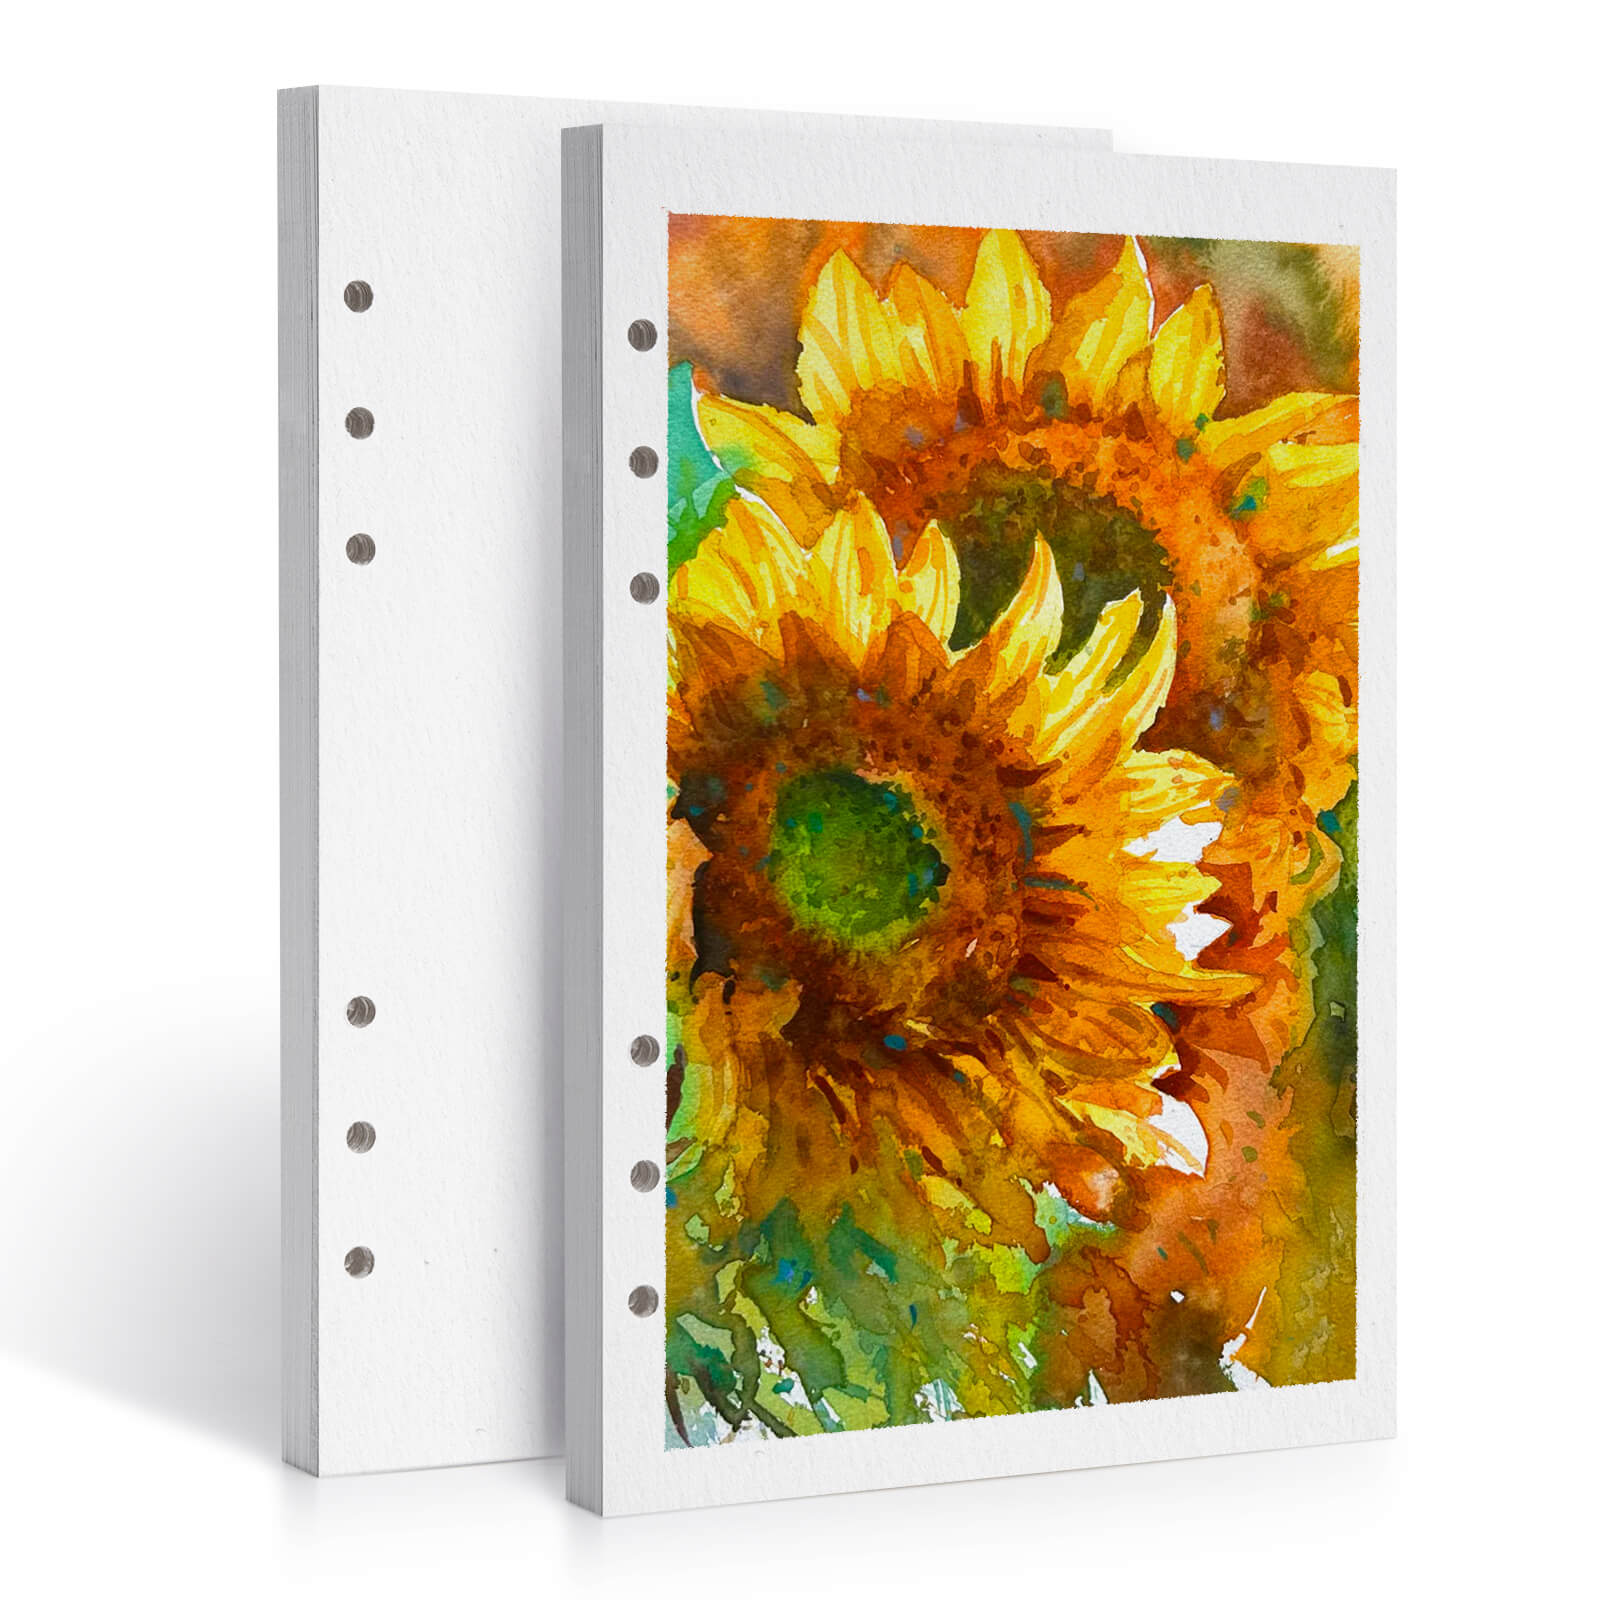
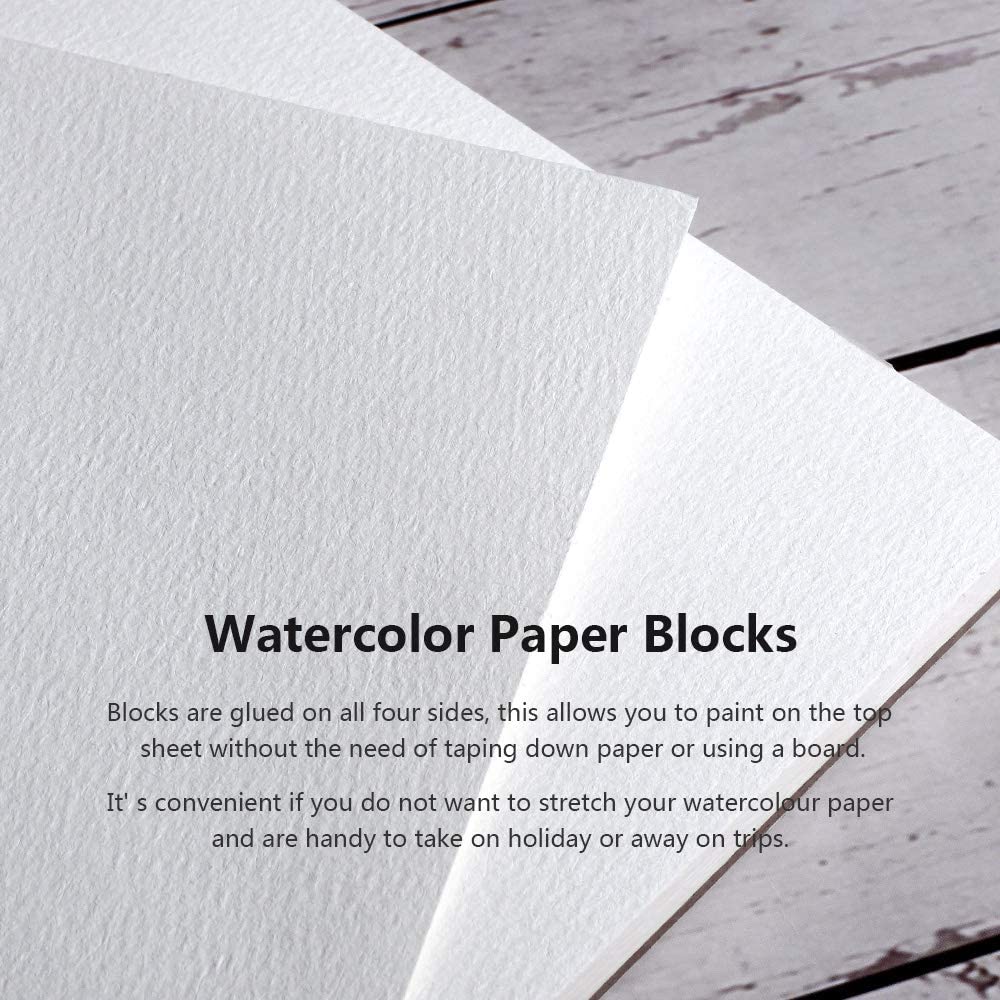
- Watercolor paper (100% cotton is great, but any paper made for watercolor will work at the start)
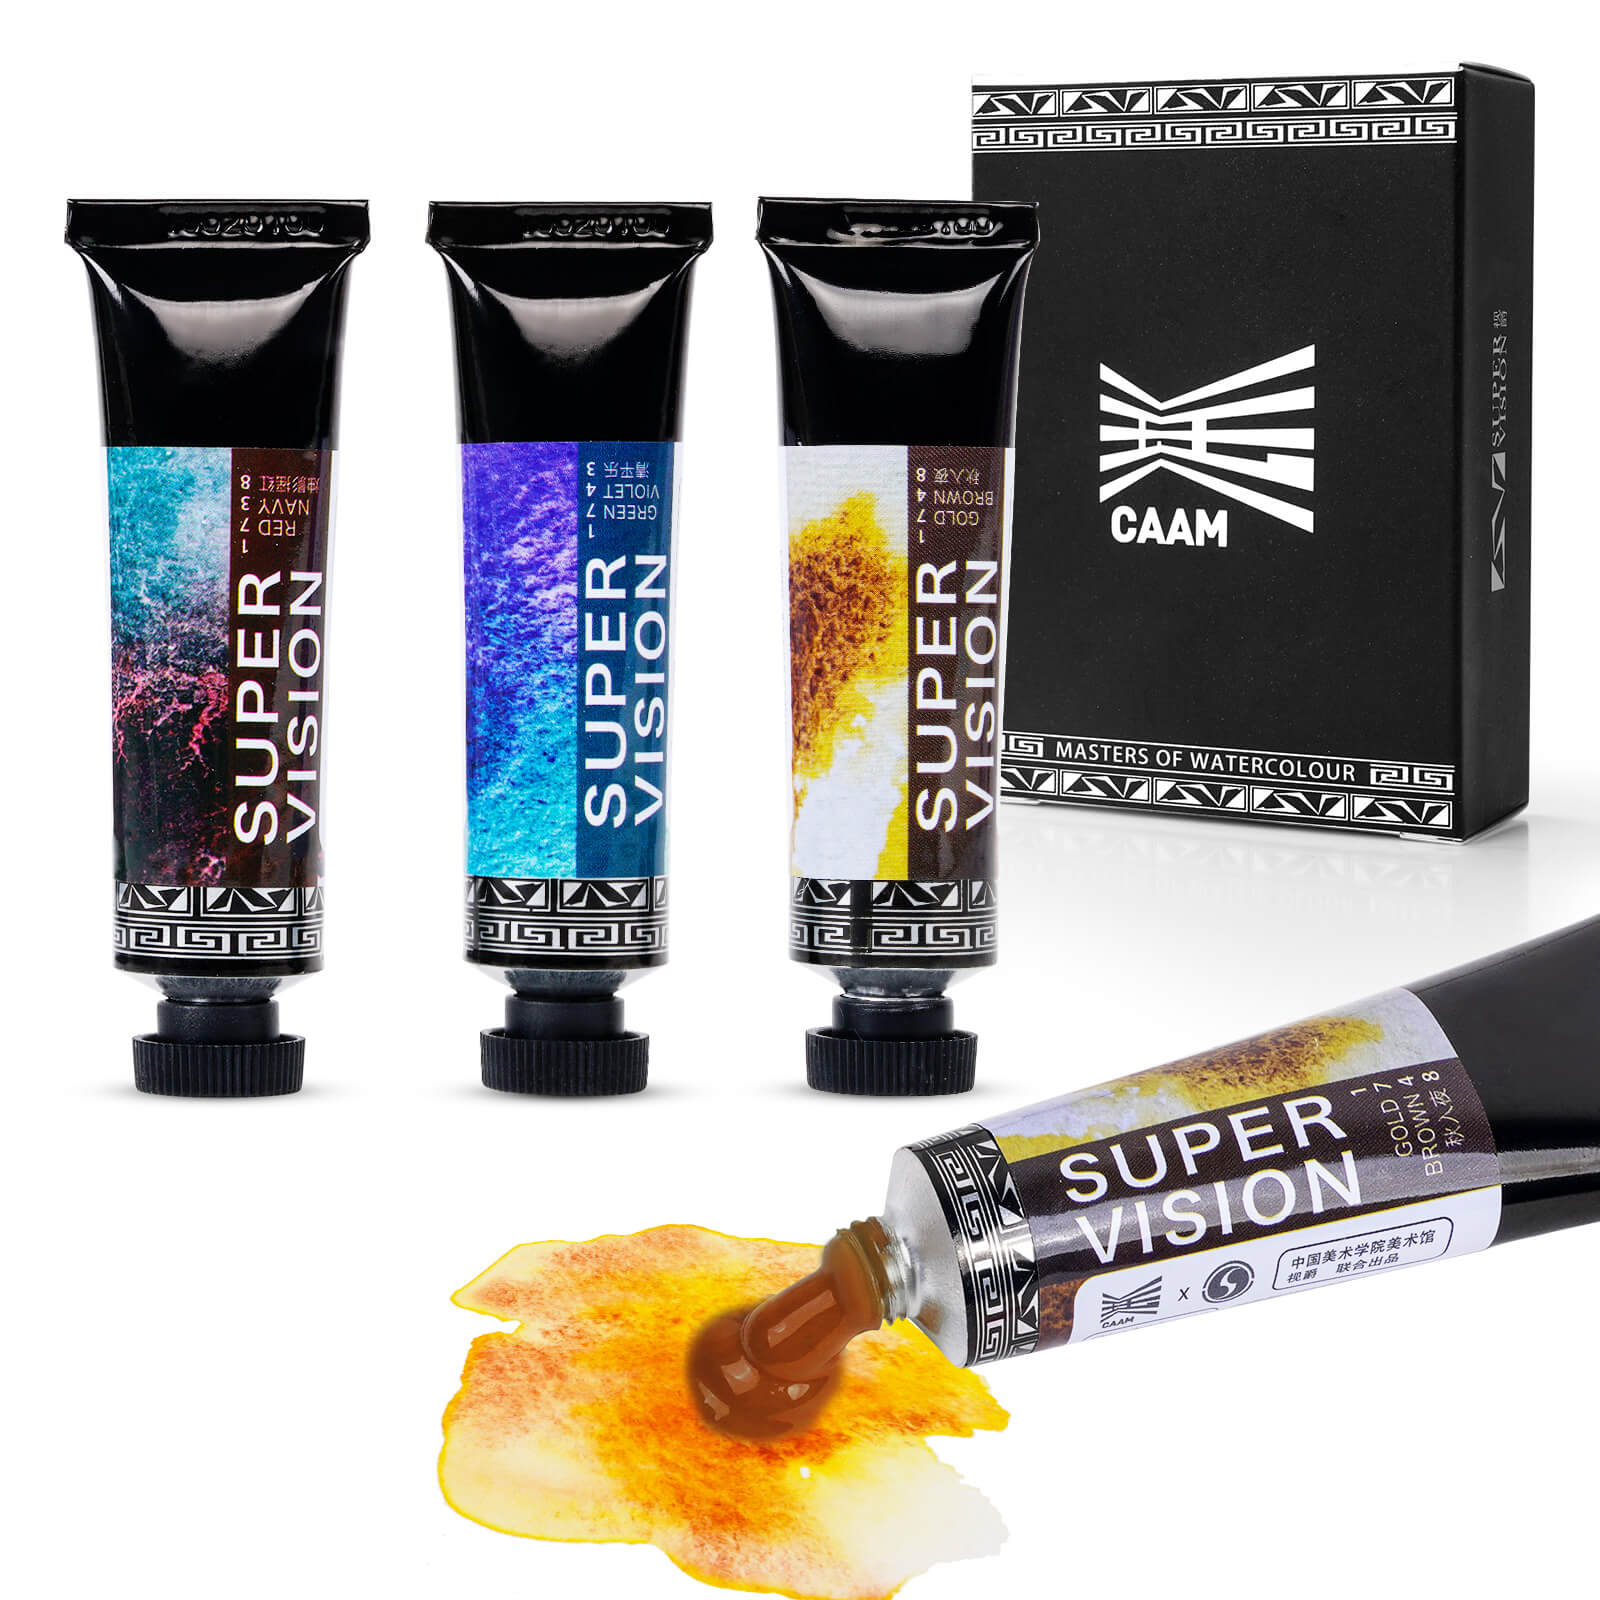
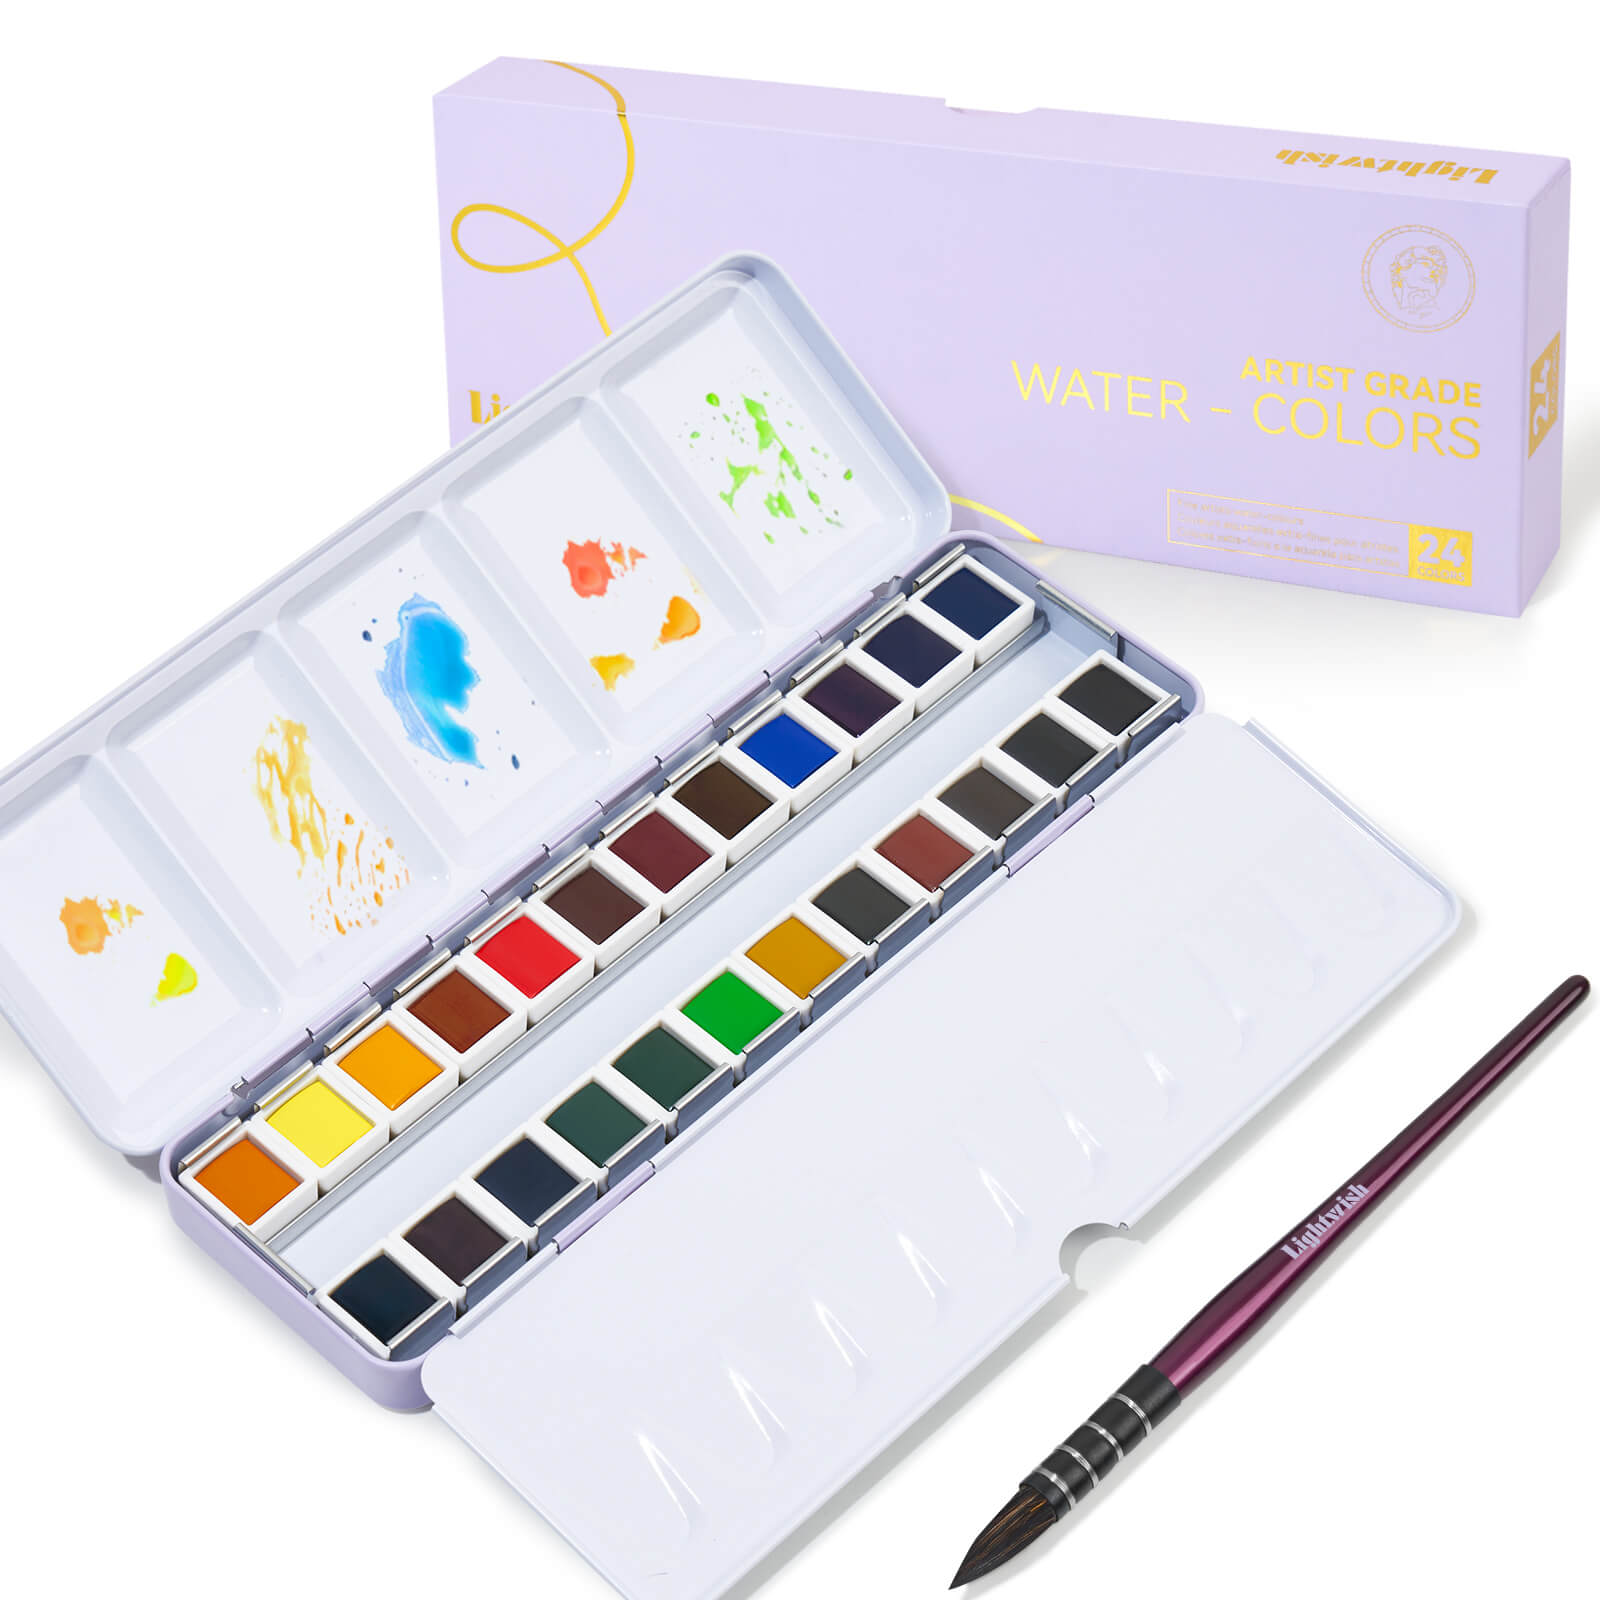
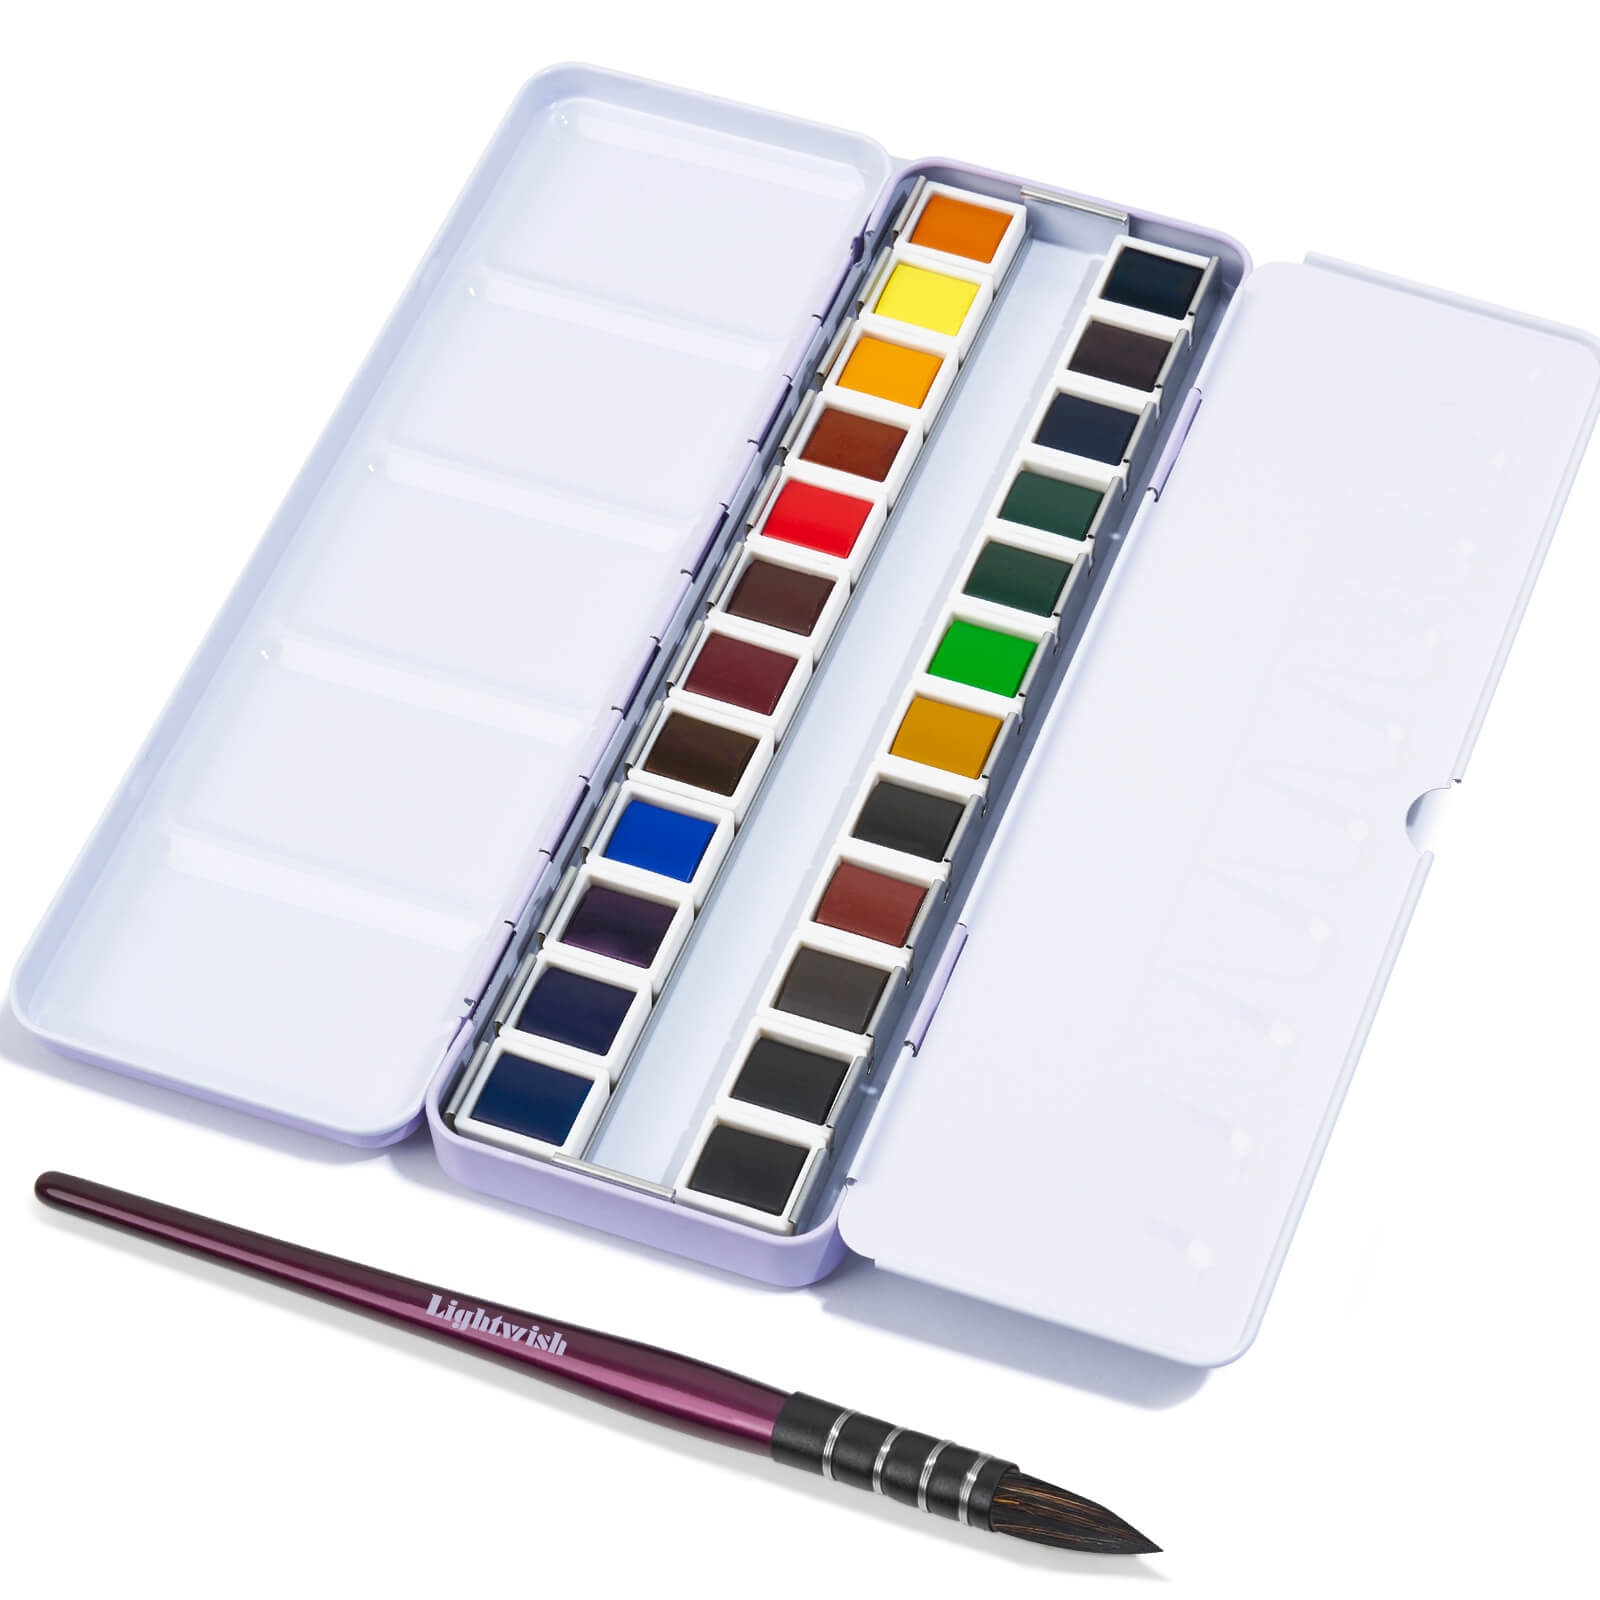
- Watercolor paint set (even a small travel kit does the job)
- A brush (one round brush, size 8 or 1
- Water (just a cup or jar)
That's genuinely all it takes.

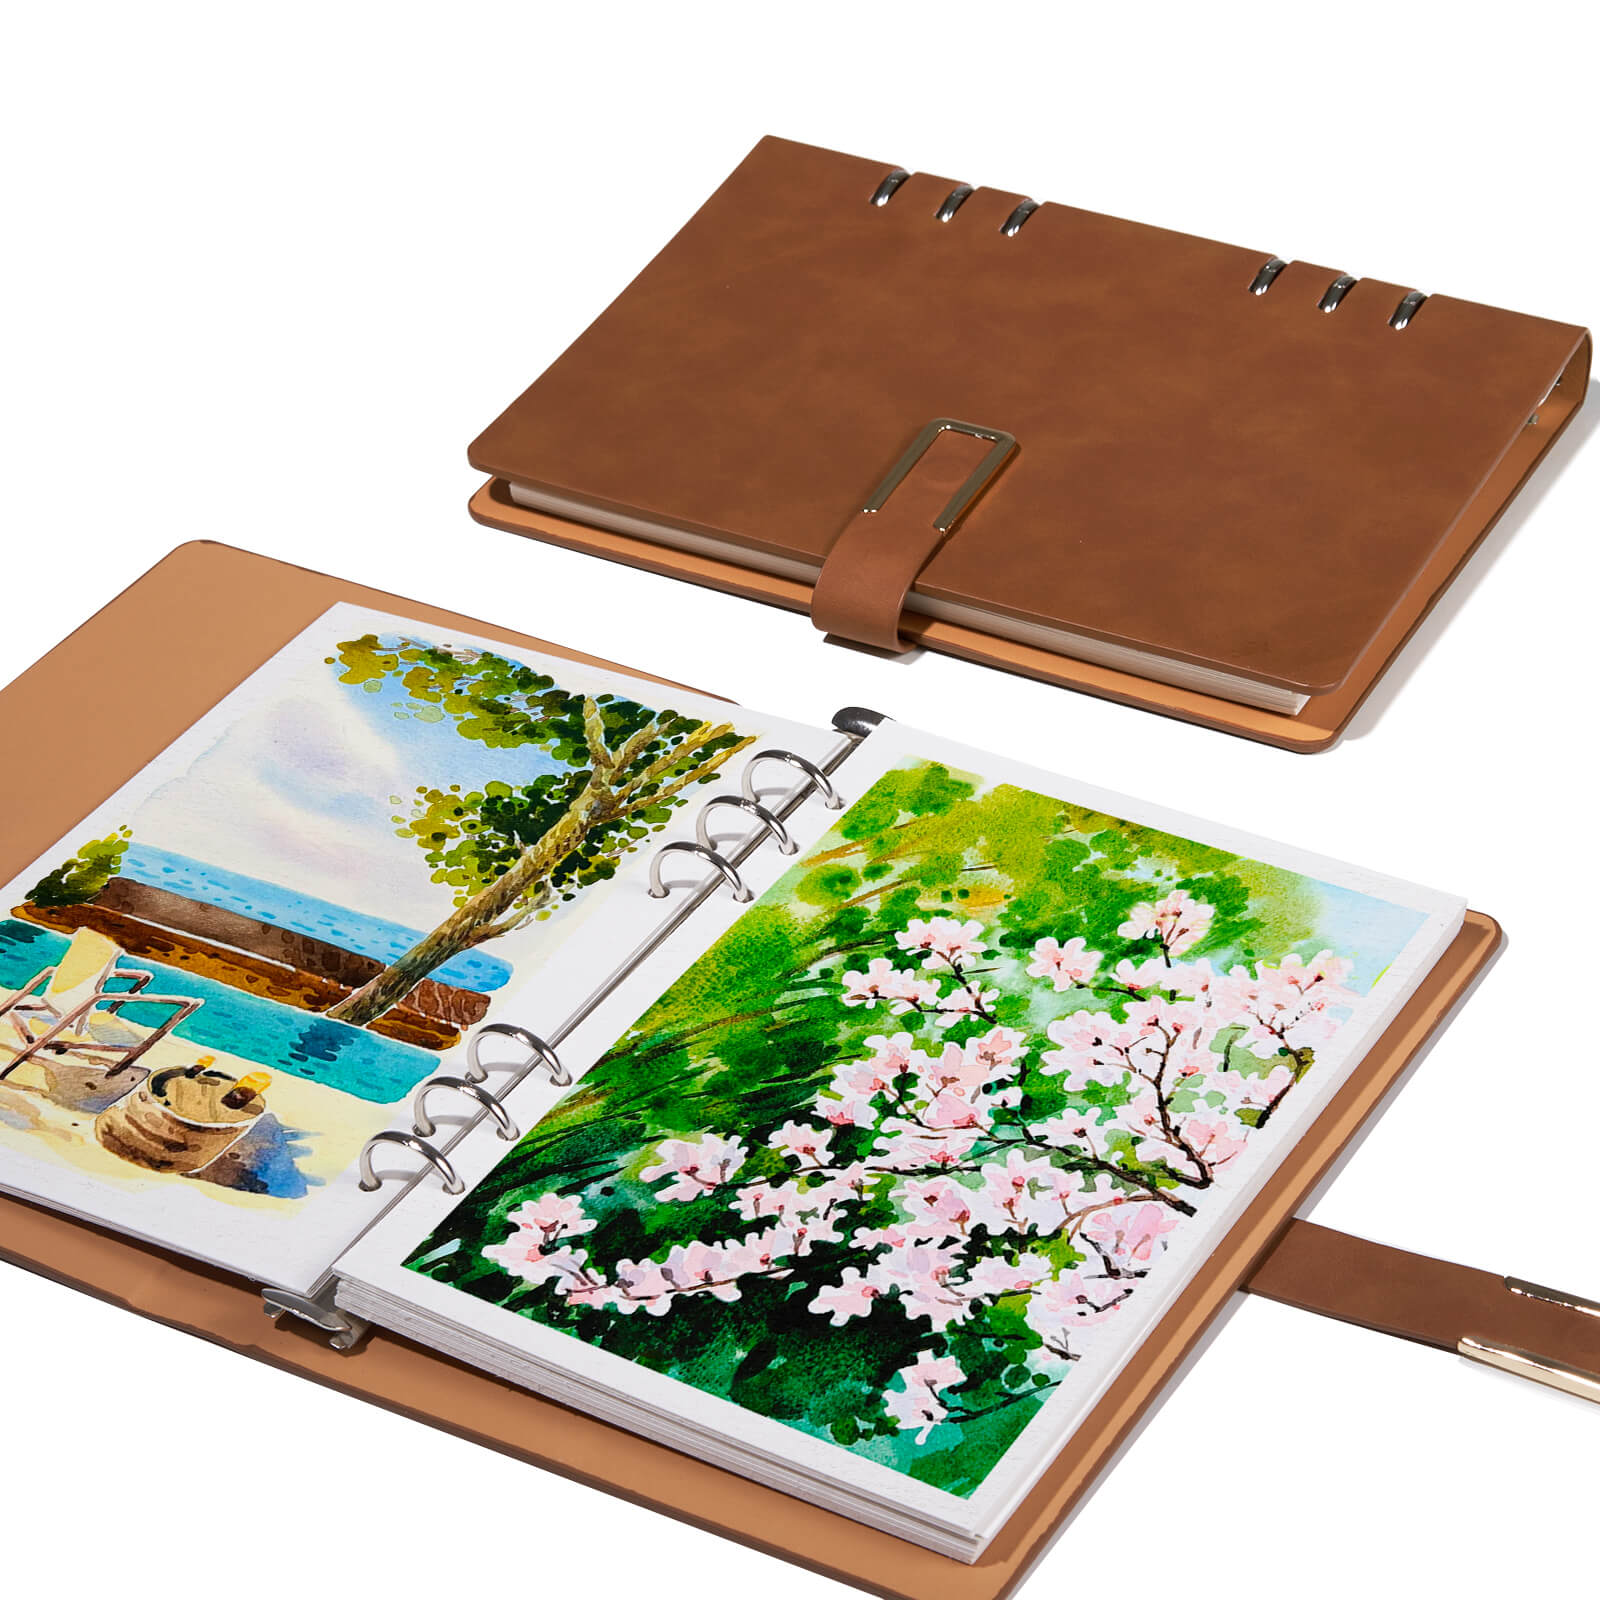
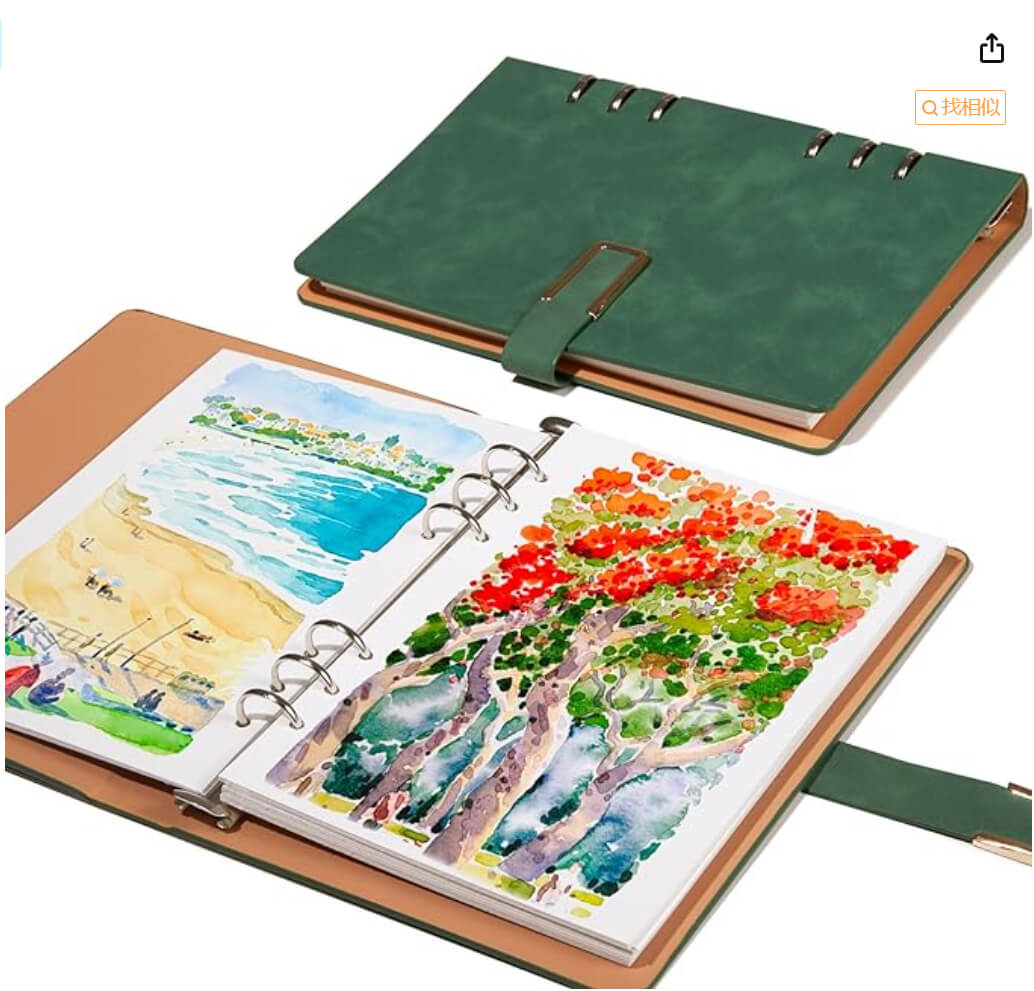
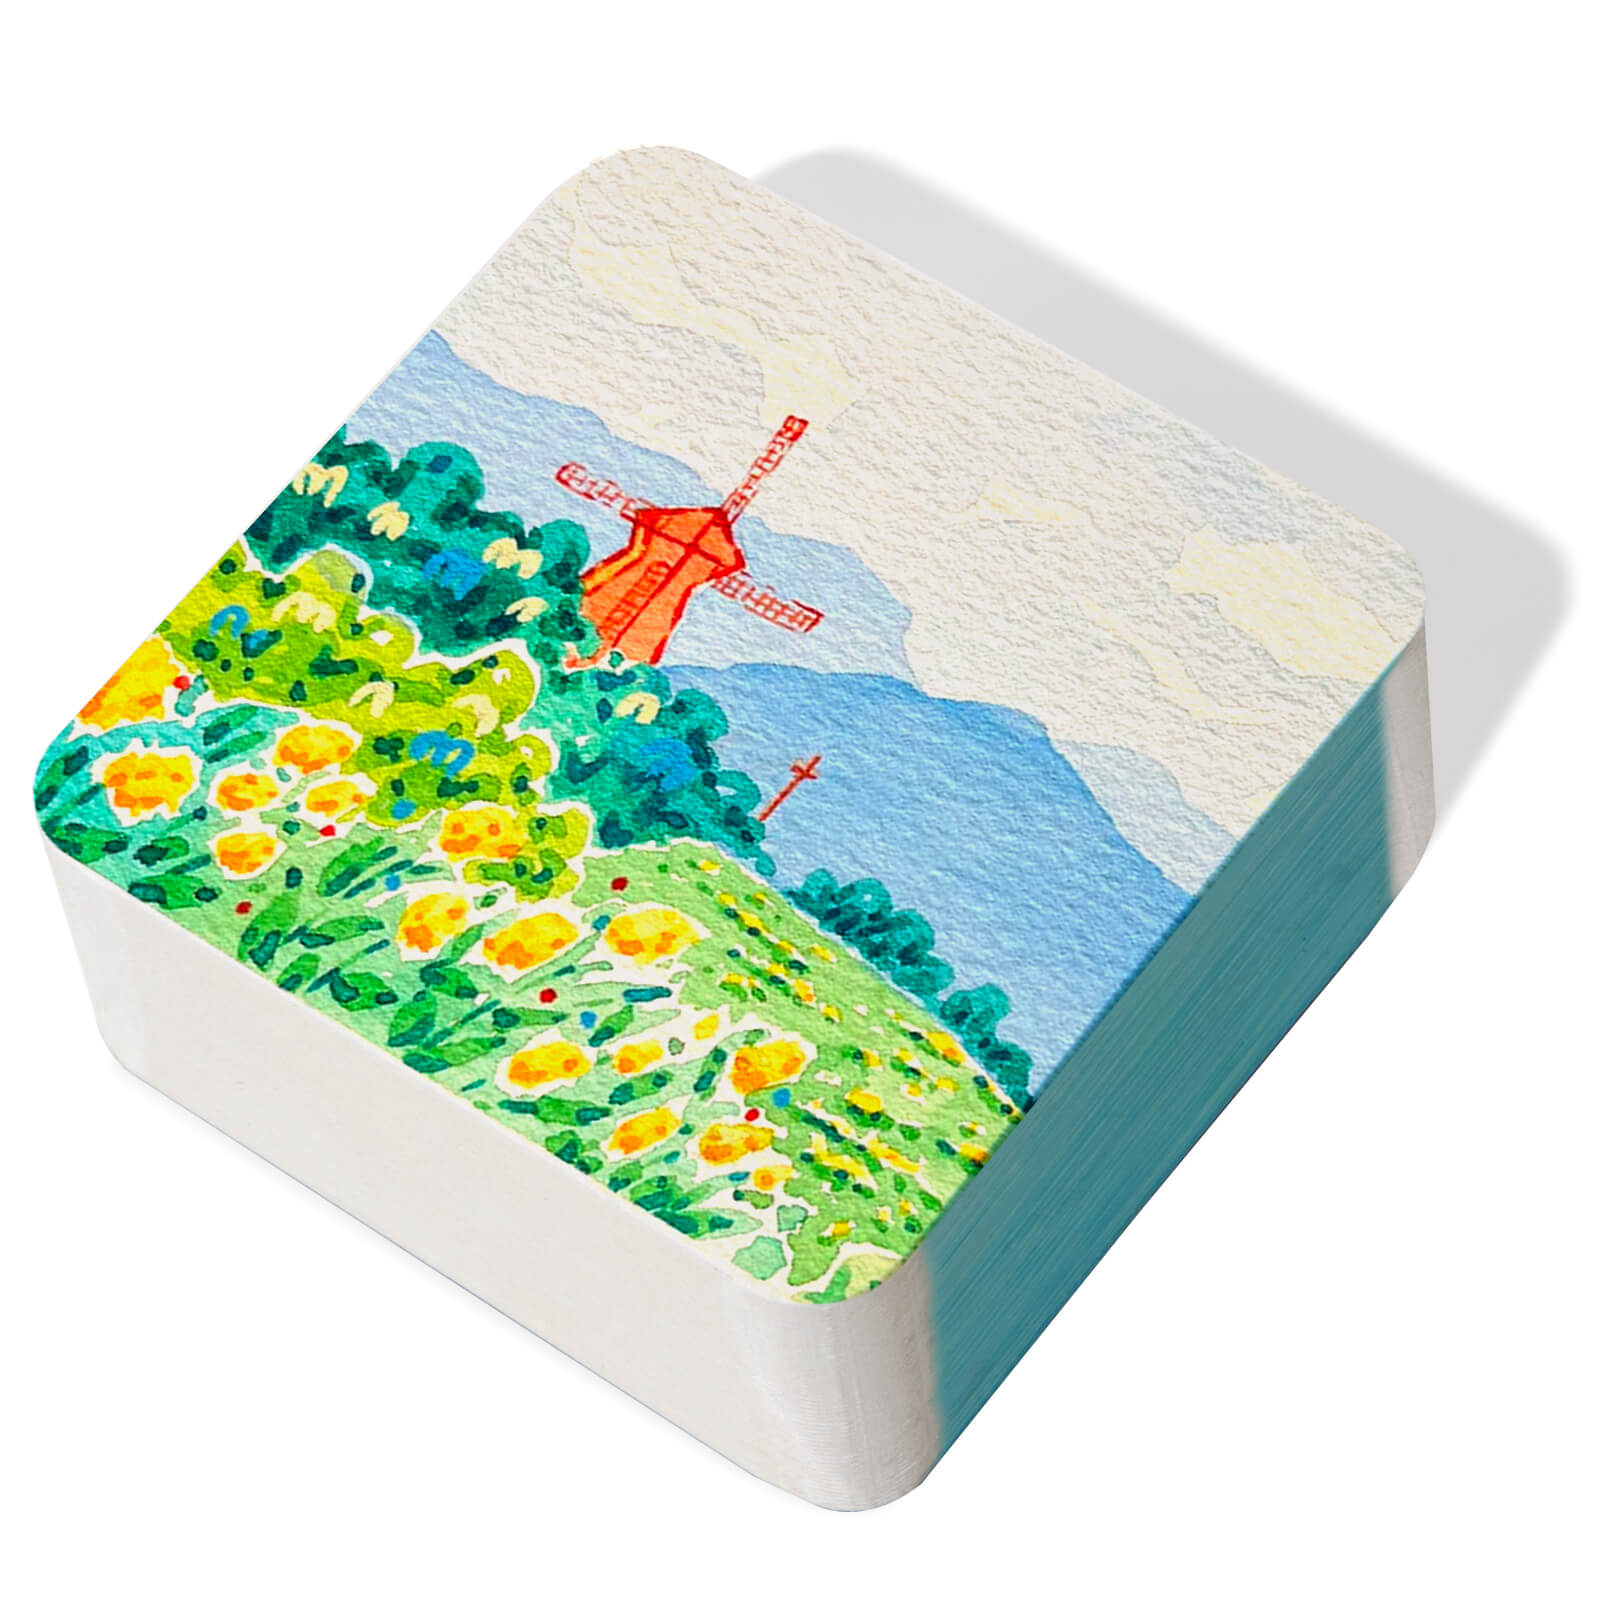
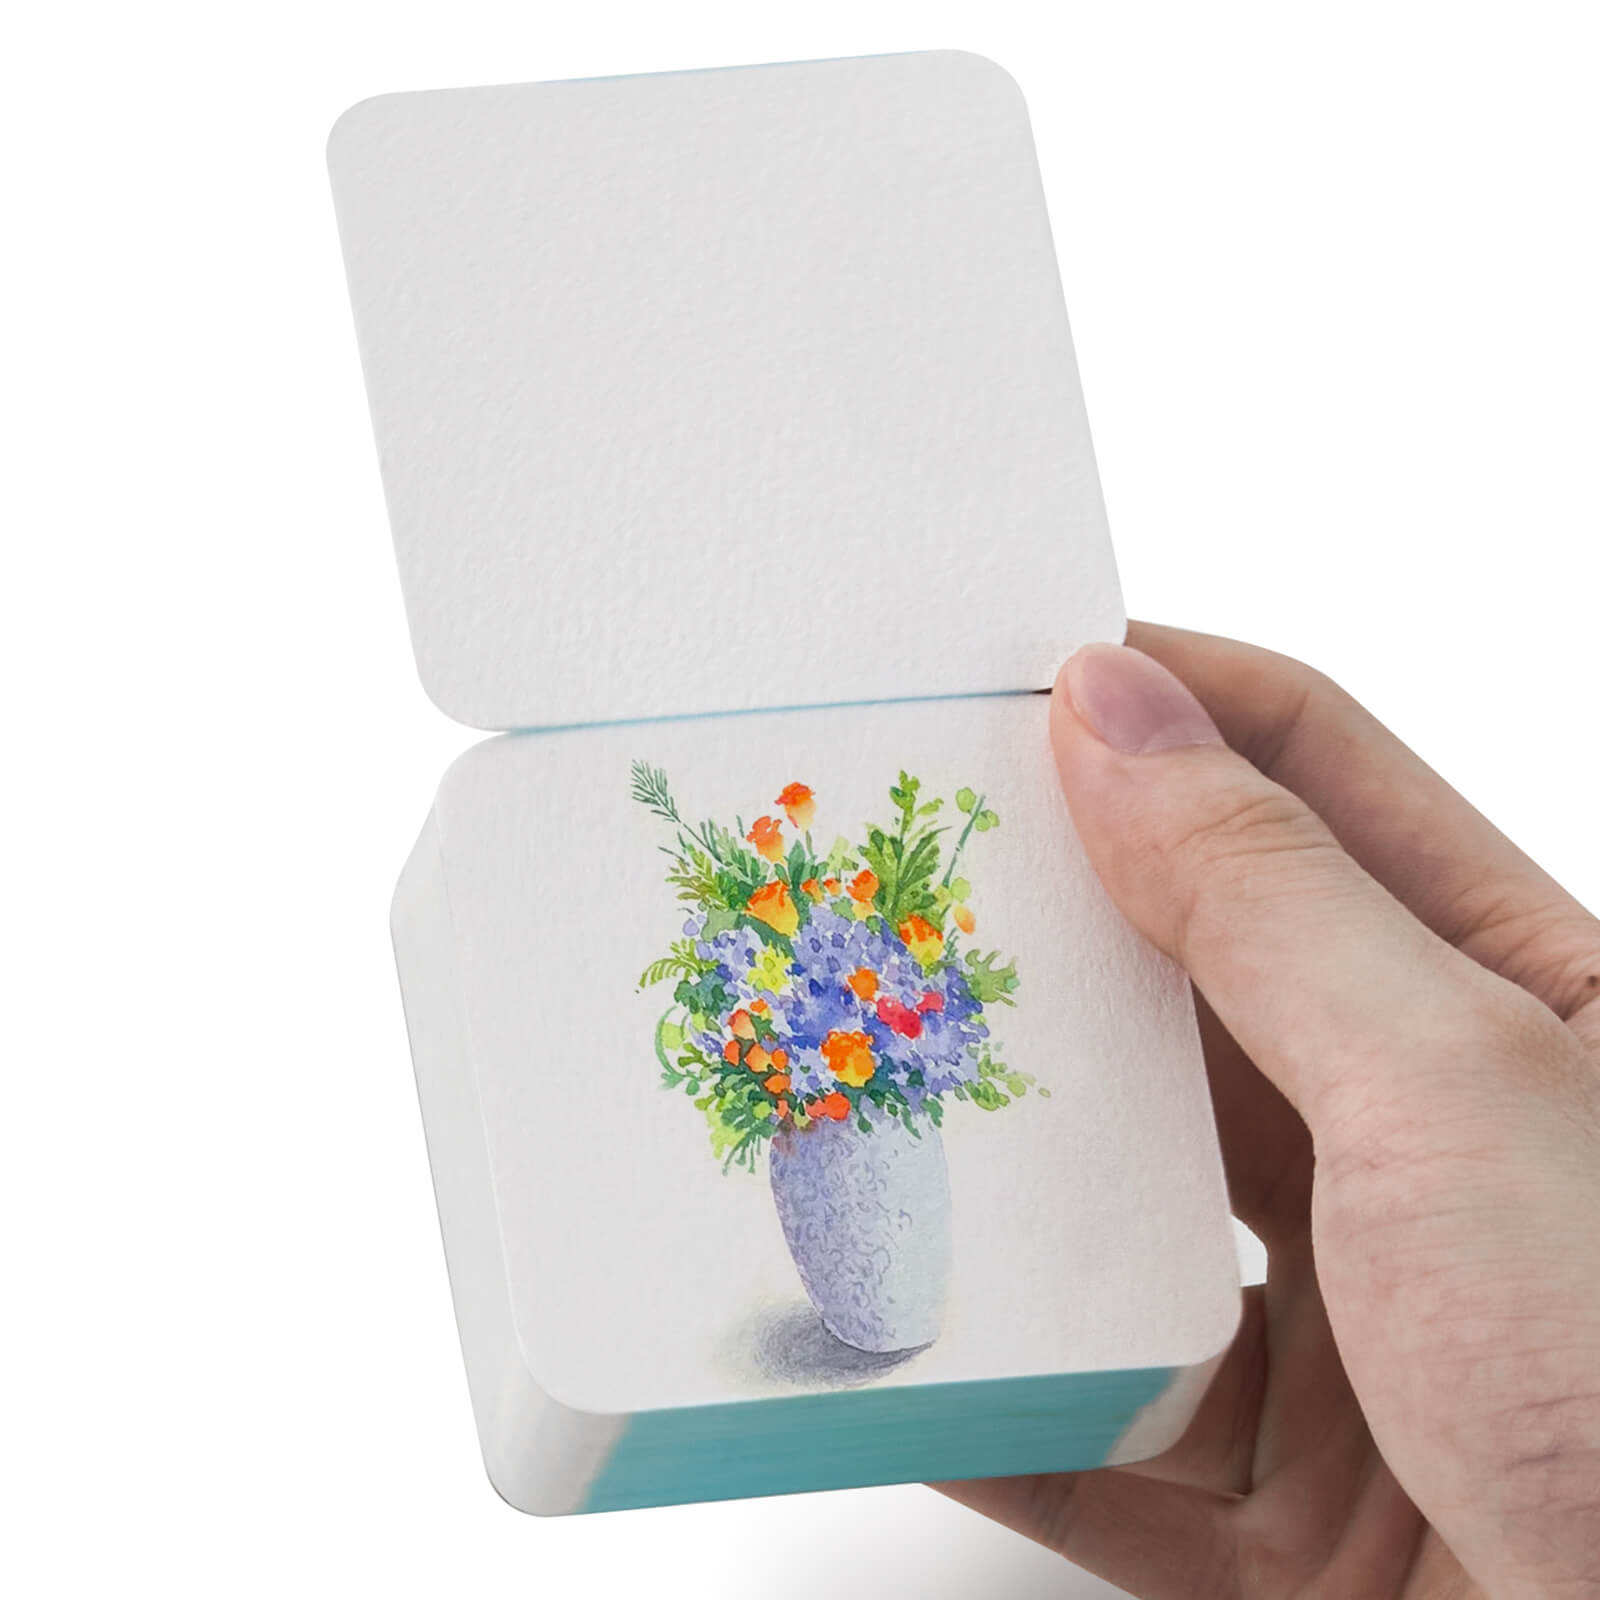
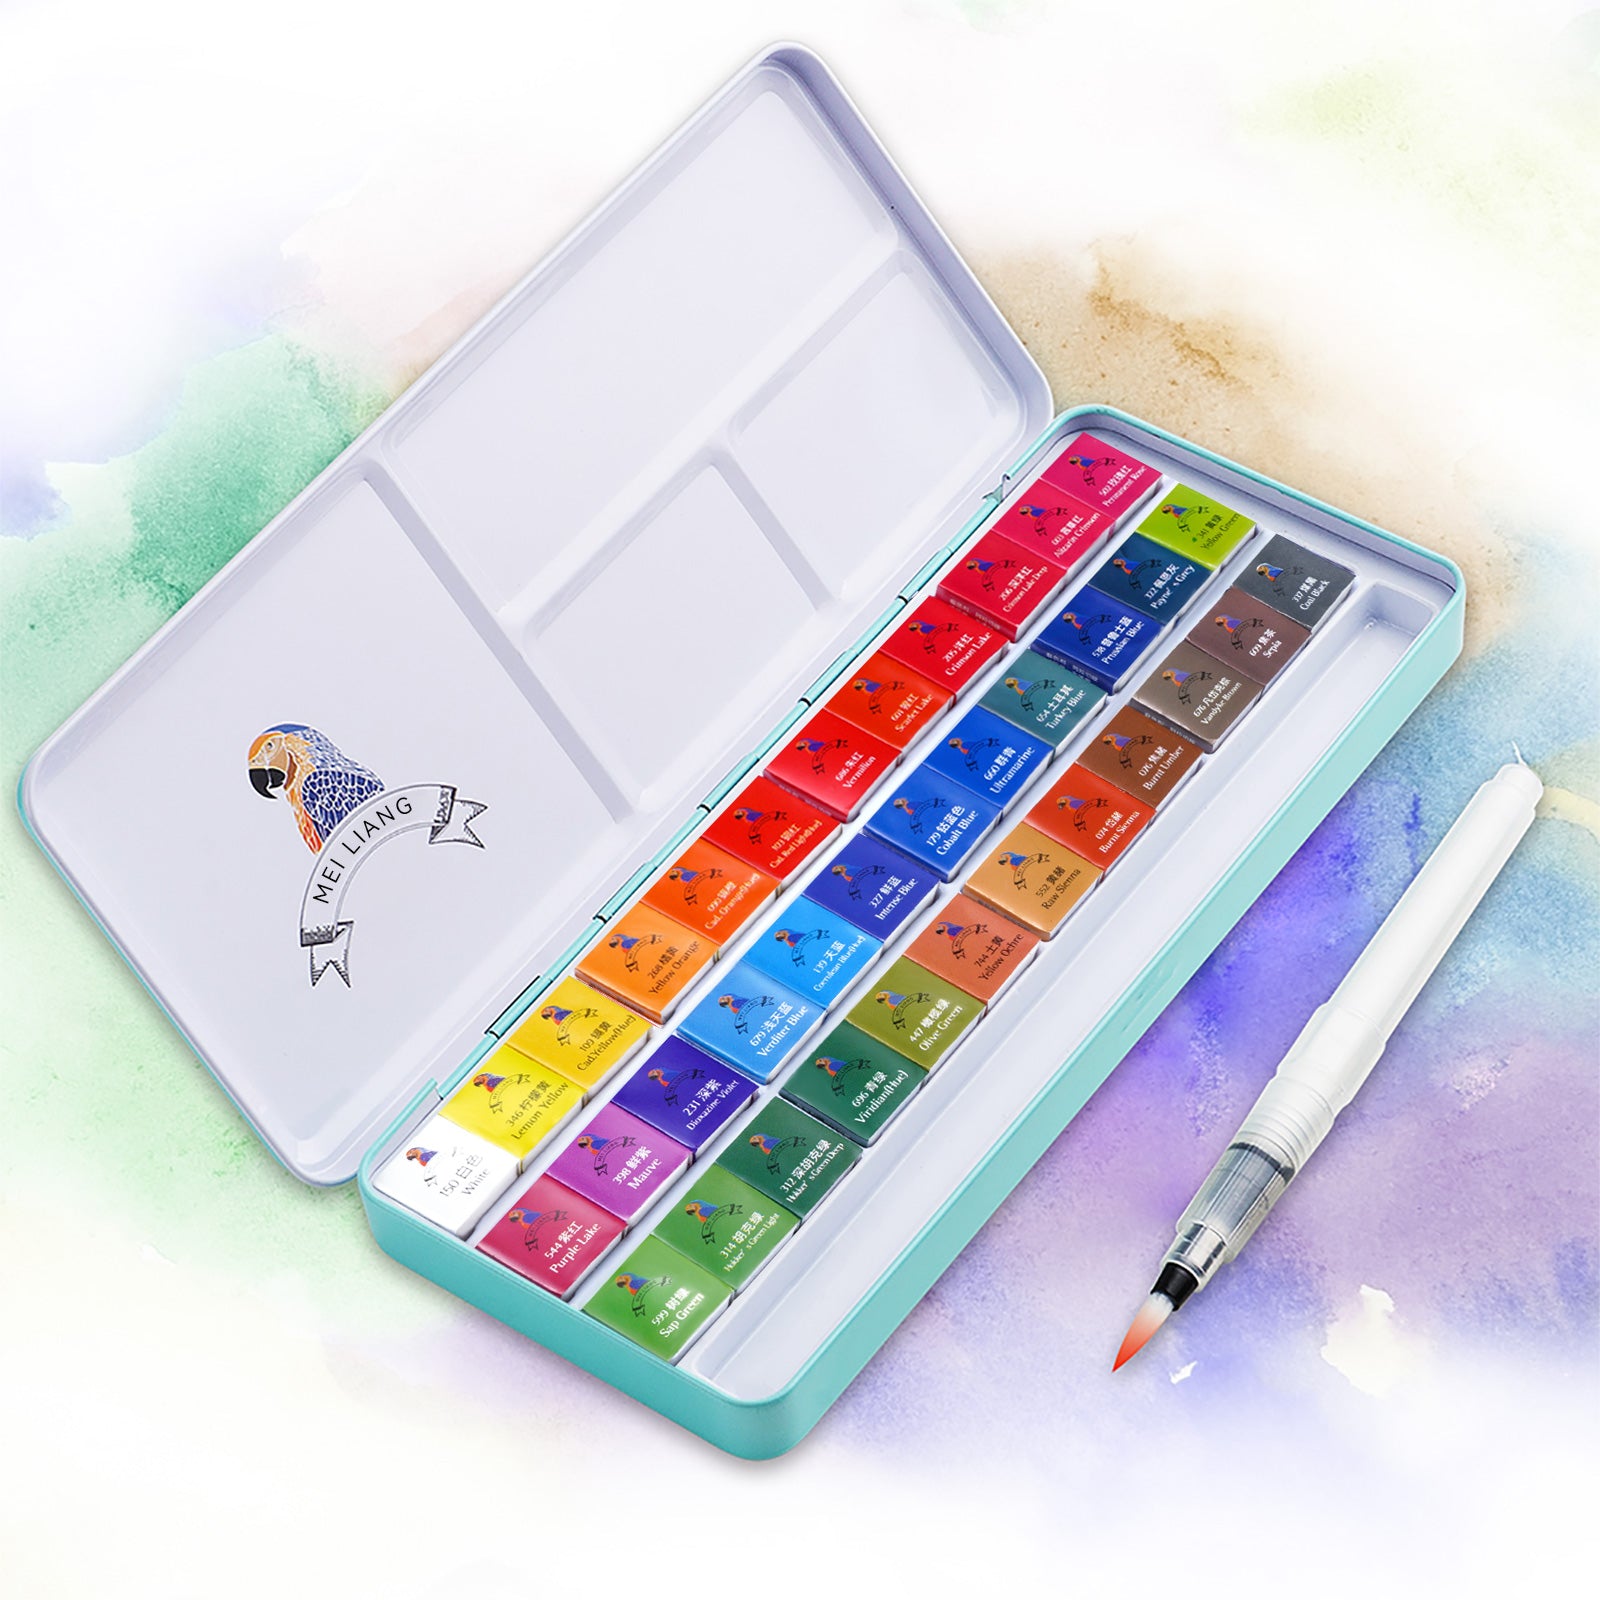
A compact travel watercolor set — like the LIGHTWISH travel binder — makes practice easier because everything stays in one place: paper, paints, brush, and palette.
Matching Each Technique to the Right Situation
Not every watercolor painting method fits every scene.
Once you understand which method does what, you will improve much faster.
Here's a quick reference:
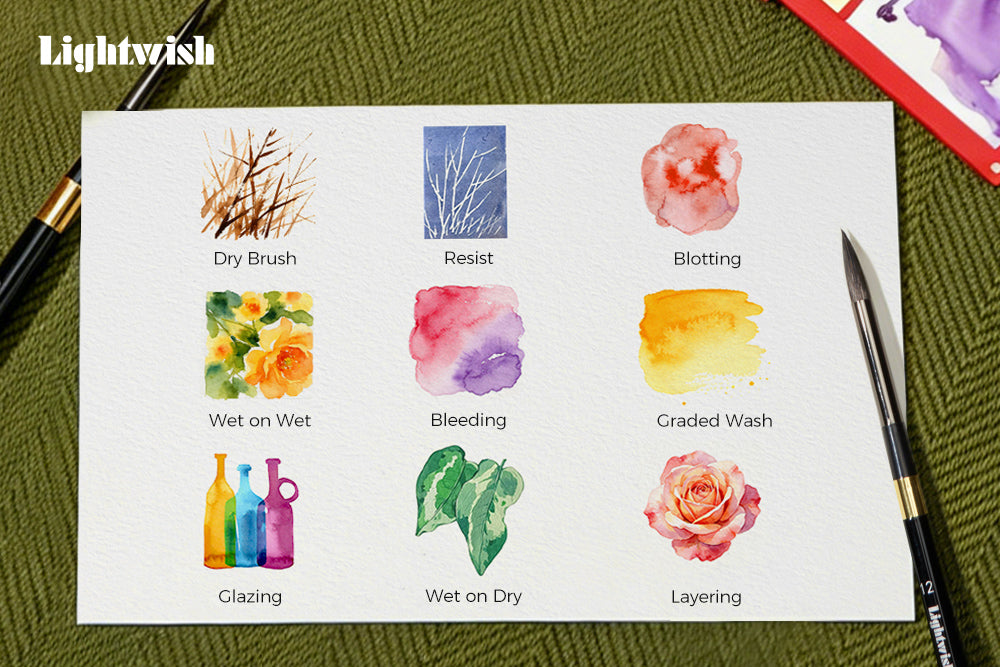
|
Technique |
Best For |
|
Wet-on-Wet |
Soft backgrounds, skies, and loose florals |
|
Graded Wash |
Smooth transitions and fading skies |
|
Bleeding |
Natural, organic color mixing on paper |
|
Dry Brush |
Textures like grass, wood, or branches |
|
Blotting |
Lifting color for highlights or fixing mistakes |
|
Resist |
Preserving pure white shapes (like snow or twigs) |
|
Glazing |
Adjusting color temperatures and optical mixing |
|
Layering |
Building deep shadows and 3D dimension |
|
Wet on Dry |
Crisp edge control and sharp details |
Instead of trying everything randomly, match the watercolor technique to what you're painting.
That's how control starts to build.
Technique #1: Wet-on-Wet (Soft Blending)
How to do it:
1.Wet the paper with clean water
2.Add color while the surface is still damp
3.Let the pigment spread naturally
Best for: Skies, backgrounds, loose painting styles
When to reach for this watercolor painting method: When you don't want sharp edges — painting a soft sunset or clouds, for example.
Common mistake: Using too much water, which makes the color go everywhere.
Quick fix: Dampen the paper lightly. No need to soak it.
Technique #2: Graded Wash (Smooth Transitions)
How to do it:
1.Start with a strong, highly pigmented stroke at one end.
2.Add clean water to your brush gradually as you move across the page.
3.Let the color fade out naturally.
Best for: Backgrounds, minimalist art, and sunsets.
Tip: Keep your brush moving steadily. That helps you avoid hard lines where the color changes.
Technique #3: Bleeding (On-Paper Mixing)

Technique #4: Dry Brush (Texture and Detail)
How to do it:
1.Tap excess water off your brush so it is mostly dry.
2.Load a rich, thick pigment onto the bristles.
3.Drag lightly and quickly across the surface of the paper.
Best for: Grass, wood, hair, or any rough texture.
When to use it: Use this at the final stage of your painting to add crisp, contrasting detail.
Tip: 100% cotton cold press paper makes this texture look even better. It catches the paint on its natural "tooth."
Technique #5: Blotting (Lifting Color & Highlights)
How to do it:
1.While your paint is still damp, take a clean, slightly damp brush or a tissue.
2.Gently press onto the paper to lift the pigment away.
3.Dab straight up—don't scrub.
Best for: Creating soft highlights (like clouds) and fixing small mistakes.
Why beginners love this one: It works like an eraser. That alone makes watercolor painting for beginners way less scary.
Technique #6:Resist (Preserving White Areas)
How to do it:
1.Apply masking fluid (or a white wax crayon) to the shape you want to keep white
2.Let it dry fully, then paint your wet wash right over it
3.Once the paint is dry, gently rub off the masking fluid to reveal clean white paper underneath.
Best for: Fine white details — snow, highlights on water, or overlapping branches

Technique #7: Glazing (Optical Color Shifts)
How to do it:
1.Let your base layer dry completely.
2.Mix a very transparent wash (more water, very little pigment).
3.Paint gently over the dry area without scrubbing.
Best for: Richer tones, adjusting color temperature, and showing transparency (like glass or water)
Tip: Two thin glazes almost always look better than one thick, heavy layer.
Technique #8: Layering (Building Dimension)
How to do it:
1.Paint a light, overall base layer.
2. Let it dry completely to the touch.
3.Add a darker layer of paint on top to carve out shadows and petals.
Best for: Adding shadows and creating 3D depth.
Common mistake: Not waiting for the base layer to dry. This creates muddy colors and ruins the effect.
Technique #9:Wet on Dry (Edge Control)
How to do it:
1.Load your brush with wet paint.
2.Apply it directly to completely dry paper.
3.The color stays exactly where you put it.
Why this matters for watercolor painting for beginners: Edges control what feels close, far away, or in focus. Hard edges (wet on dry) pull things forward. Soft edges (wet on wet) push them back.

Putting Multiple Techniques Together (A Simple Workflow)
In real painting, you rarely stick to just one watercolor technique.
Here's a straightforward approach that combines several watercolor techniques for beginners:
1.Start with wet-on-wet for the background (soft and loose)
2.Use a gradient wash for smooth transitions (sky to horizon)
3.Let it dry completely (walk away for 10 minutes)
4.Add layering for depth (trees or mountains in the middle ground)
5.Finish with dry brush or edge control (foreground details)
This keeps your process simple. You do not need fifteen steps. Just a sequence that works.
Common Mistakes Beginners Make (And How to Fix Them)
Mistake #1: Using too much water
The paint spreads everywhere and you lose control.
Fix: Dip your brush in water, then touch it to the edge of your cup. Remove excess before touching the paper.
Mistake #2: Not letting layers dry
The colors turn brown and muddy.
Fix: Wait until the paper looks dry and feels cool to the touch — not cold and damp.
Mistake #3: Using the wrong paper
Every watercolor painting technique becomes harder on cheap paper.
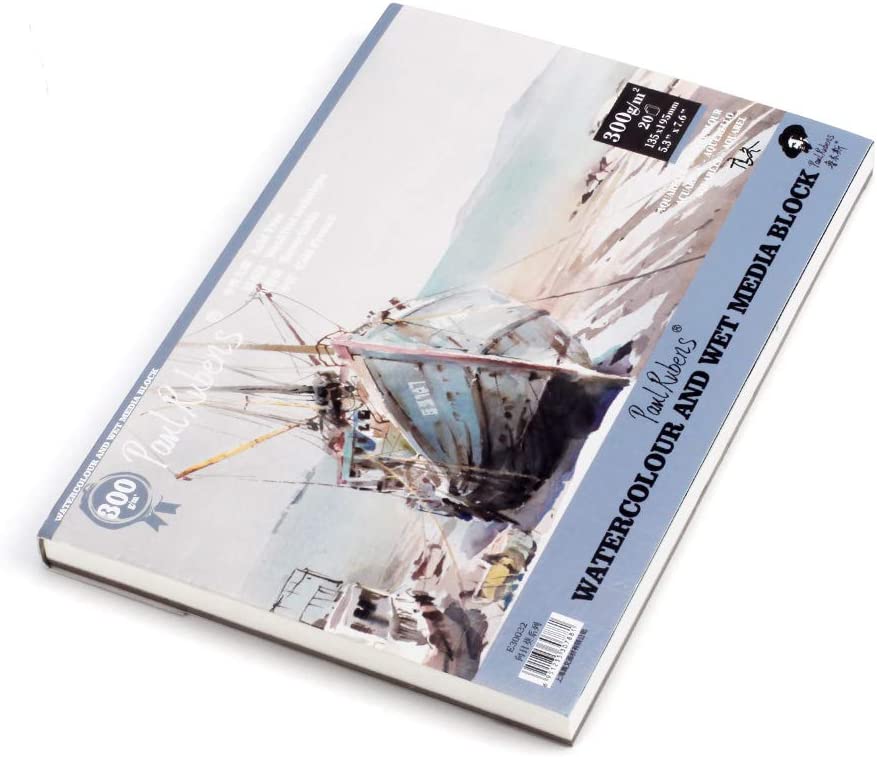
Fix: Use at least 140lb (300gsm) paper. 100% cotton is ideal — it's what we use in LIGHTWISH sketchbooks because it handles washes without warping.
Mistake #4: Expecting perfect results on the first try
Fix: Keep your first 20 paintings. Don't throw them away. You'll see real progress when you look back.
Frequently Asked Questions
Q: Do I need an expensive watercolor paint set to learn techniques?
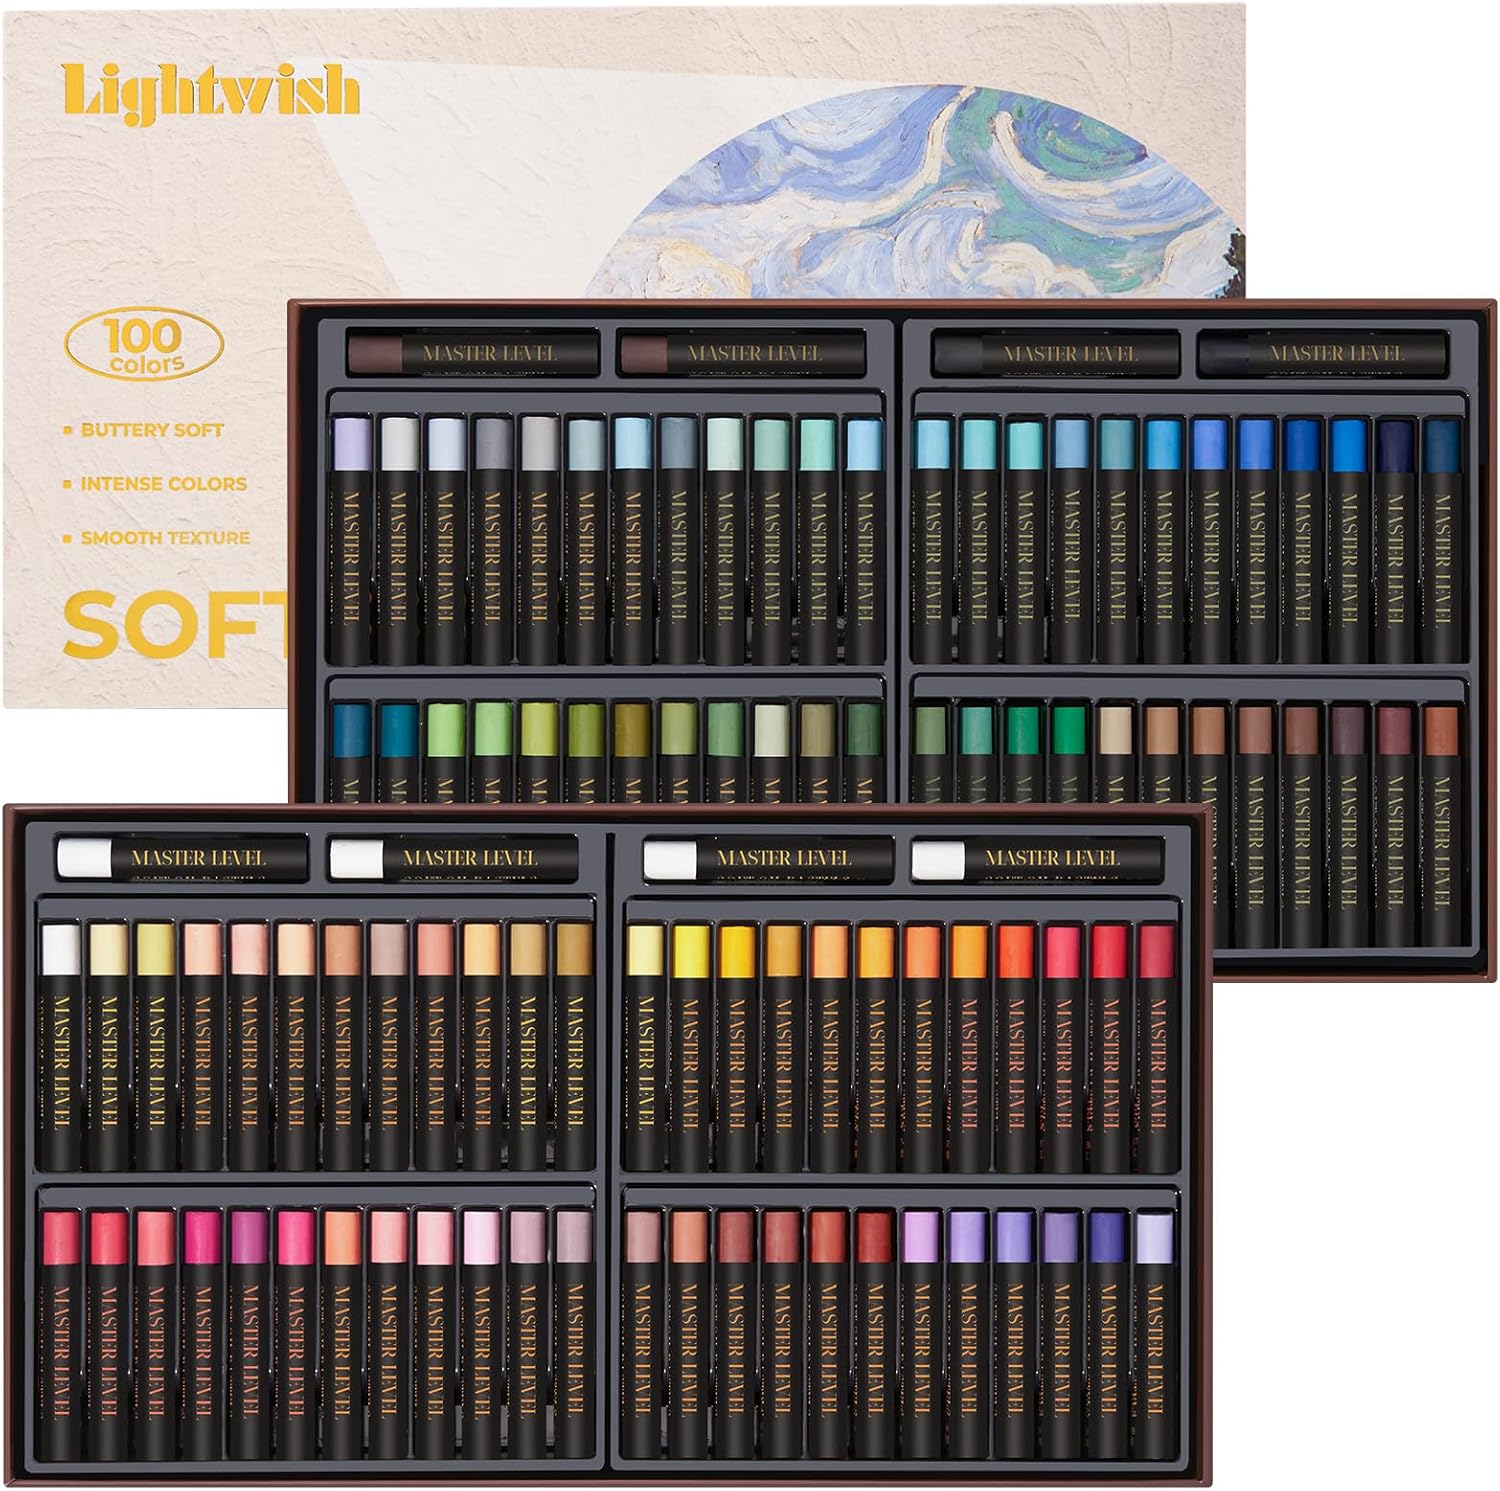
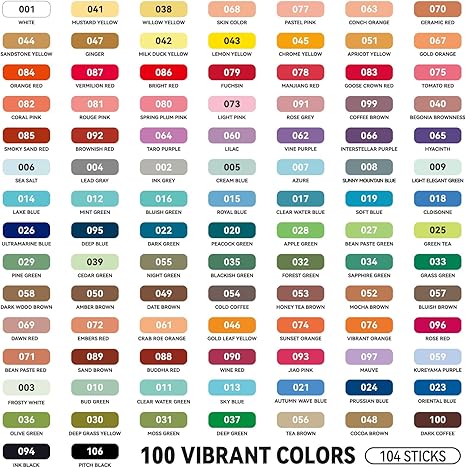
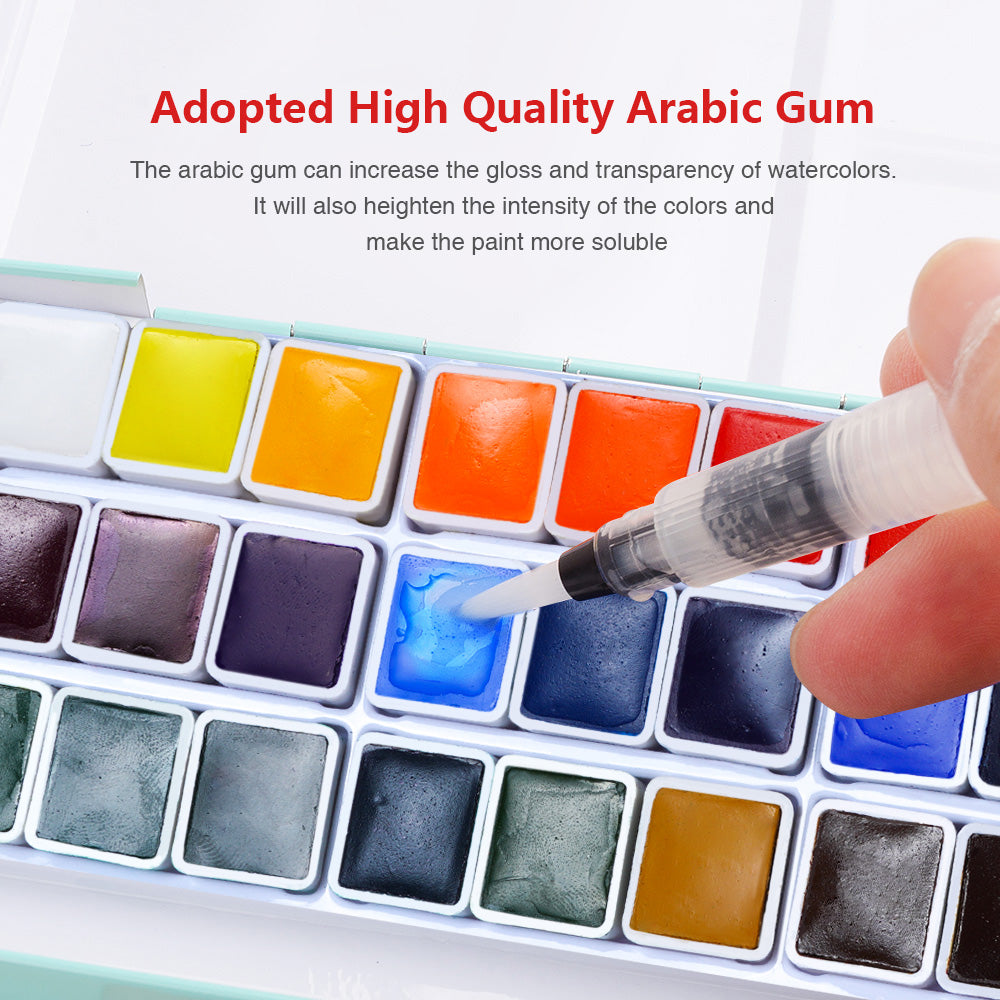
No. A basic travel watercolor paint set with 12-24 colors is plenty. Quality paper matters more than expensive paints.
Q: Which watercolor technique should I learn first?
Start with wet-on-wet and dry brush. They teach you the two ends of the spectrum — soft blending on one side and sharp texture on the other. Everything else falls somewhere in between.
Q: Why do my colors look dull?
Two possible reasons. One: you are using too much water, which thins the pigment too much. Two: your paper might be the issue. Try using more paint and less water first. If that does not help, try better paper before upgrading your paints.
Q: Can I learn watercolor painting for beginners without taking a class?
Absolutely. These nine watercolor techniques work great for self-study. Focus on one method at a time, and your skills will grow naturally.
Ready to Practice With the Right Tools?
Having a watercolor paint set that's always ready removes the biggest barrier to daily practice.
Grab the LIGHTWISH Travel Watercolor Set — 24 semi-moist paints, ceramic palette, 100% cotton paper, and everything else you need in one portable binder.
P.S. Don't wait for the perfect moment—just open it, give the palette a quick mist, and try Technique #1 today. Even five minutes is a great way to get started!