Watercolor has a reputation for being dreamy and effortless, with luminous colors and fluid washes. But when you try it, it can feel more like wrestling a messy octopus! One moment you're painting a delicate sky, and the next you have a muddy puddle ruining everything. Have you ever spilled dirty paint water on the one clean spot in your studio? You're not alone.
Let's be honest: watercolor can be tricky. It requires respect, skill, and an understanding of its quirks. It’s rewarding when it works, but frustrating when it doesn't. Often, these frustrating results come down to a few basic mistakes. What are three common mistakes that people make when using watercolor? Get ready to dive into these frequent problems and, more importantly, how to overcome them and create paintings you'll be proud of!
Mistake 1: The Muddy Monster – Overworking Your Painting
Have you ever thought, "This doesn't look quite right… just one more brushstroke?" Raises both hands and a foot. This is the lure of the Muddy Monster. It's a very common watercolor mistake, and it can really ruin your painting.
- The Science of Mud: Watercolor works best when pure, transparent pigment particles float freely in the water and bind to the paper. When you keep brushing over an area while it's still wet, you grind those delicate pigment particles together. Instead of sitting neatly on the surface, they get mixed up like dirt in a puddle. Colors that should blend beautifully start clashing, creating dull browns or grays instead of vibrant hues. Imagine mixing blue and yellow, hoping for green, but ending up with dishwater – that’s overworking!
-
The Signs of Overworking: How do you know the Muddy Monster has struck?
- Colors look chalky, dull, or dirty.
- Edges become fuzzy and indistinct.
- The paper surface looks worn or starts to pill (small paper balls forming).
- The lovely transparency disappears under a layer of murk.

-
How to Avoid the Muddy Monster: Patience is Key!
- Work Wet-on-Dry or Wet-on-Damp, NOT Wet-on-Wet (Continuously): This is crucial! Add new layers only when the previous layer is completely dry or slightly damp. Use a hairdryer on low/cool if you're impatient (we all are sometimes!).
- Plan Your Layers: Have a general idea of your layers before you begin. Where do you want sharp edges? Where can you blend softly? Work section by section, letting areas dry before working on neighboring ones.
- The One-Pass Wonder: Challenge yourself! Apply a wash or shape and then leave it alone. Seriously. Put the brush down. Walk away. Make tea. Resist the urge to "fix" it while it's wet. You'll be amazed at the clarity.
- Embrace Happy Accidents: Sometimes a random bloom or unexpected edge is beautiful. Before you try to "correct" it, ask yourself: "Does this actually ruin it, or is it just different?" Often, it’s the latter. Watercolor has its own character – learn to work with it, not against it.
Speaking of water… that leads us to the next big mistake.
Mistake 2: Too Wet or Too Dry – Water Control Issues
Watercolor. The name says it all, right? Water-color. Yet, managing water is where many paintings go wrong. Getting the water-to-paint ratio wrong is like baking a cake without measuring flour – unpredictable and often a disaster.
-
The Two Extremes (And Why They're Bad):
- The Flood Zone (Too Much Water): Using too much water and not enough pigment creates weak, pale washes that lack color. They dry unevenly, leave hard edges (blooms or cauliflowers) where you don't want them, and can even buckle heavy paper. Painting on a soaked surface is like painting on a slip 'n slide – no control!
- The Arid Desert (Too Little Water): Using paint straight from the tube or pan without enough water leads to thick, sticky, opaque paint. It dries quickly on the brush, creates harsh, scratchy lines, and loses the beautiful, luminous transparency of watercolor. It acts more like gouache or acrylic, clogging brushes and making smooth gradients impossible.
-
Finding the Right Balance: Aim for these consistencies:
- Juicy Washes: Enough water to flow smoothly off the brush, creating a transparent, even layer. Think skim milk.
- Stronger Applications: Less water for more intense color and sharper details. Think whole milk or even cream for bold color.

-
Mastering the Mix: Practical Tips
- Test Swatches are Essential: Always test your mix on scrap paper first. See how it flows, its intensity, and how it dries. Don't guess!
- Control Your Brush Load: Dip your brush in water, then gently squeeze the ferrule (the metal part) against the edge of your water container to remove excess water before adding paint. For washes, you want a hydrated brush, but not dripping.
- Use Two Water Jars: Use one jar for cleaning brushes (it gets dirty quickly) and one jar for clean water to mix with. Dirty water = muddy colors!
- Consider Your Paper's Absorbency: Different papers absorb water differently. Rough paper holds more water than Hot Press. Adjust your water accordingly. Practice makes perfect.
Now, you might be thinking, "I'm patient, and my water ratio is good, but my paper still looks awful!" The problem is likely…
Mistake 3: Paper Problems – Skimping on the Basics
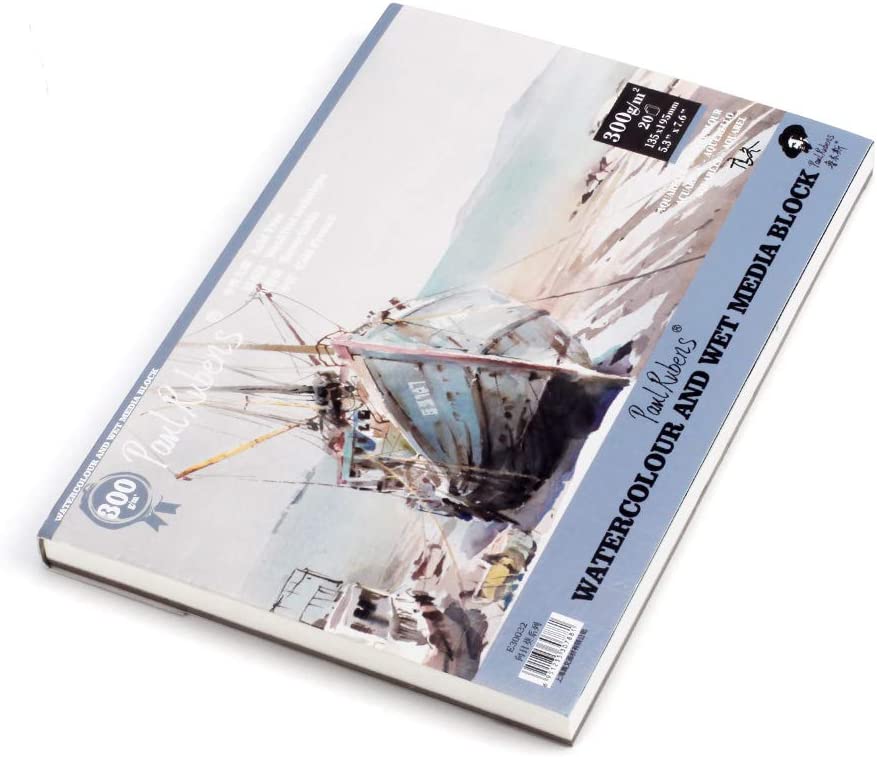
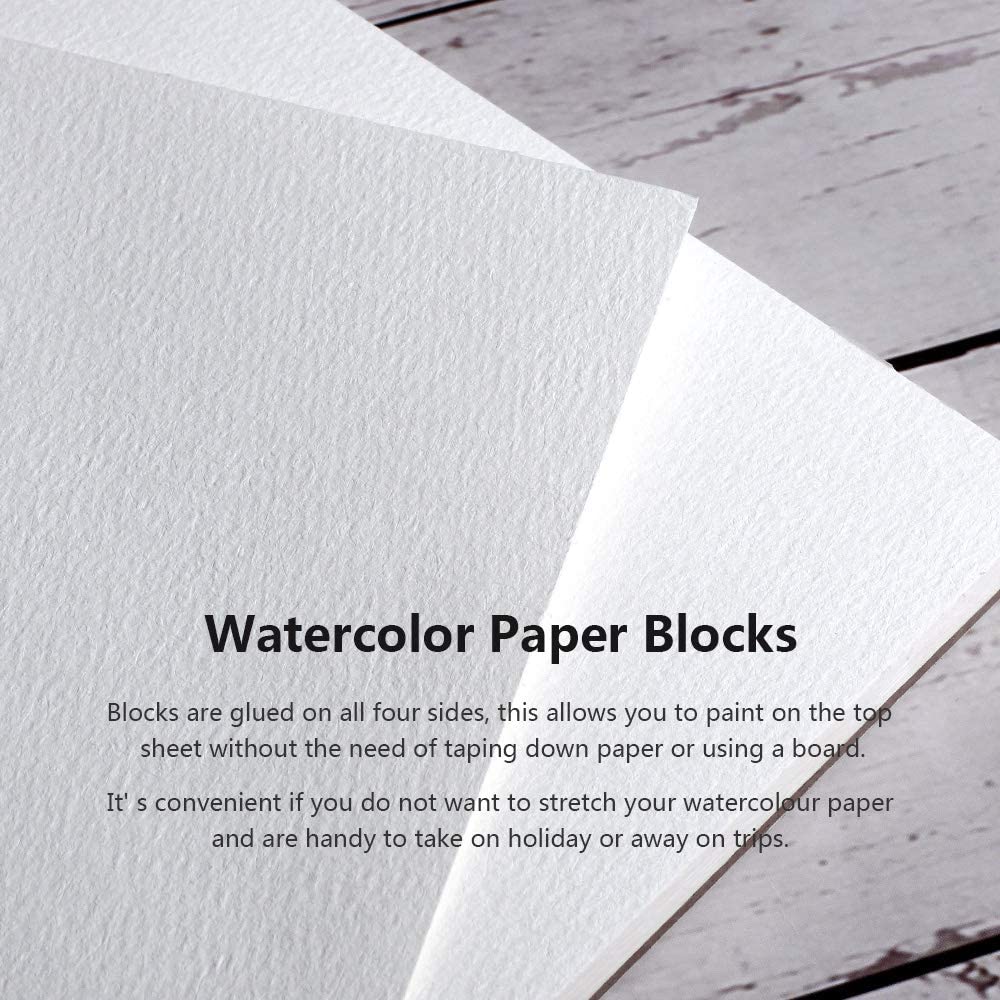
Good watercolor paper can seem expensive, especially when you're learning and making mistakes. It's tempting to buy cheap student paper or even printer paper. Don't do it! Choosing the wrong paper sets you up for failure.
-
Why Cheap Paper is Bad:
- Buckling Issues: Thin, non-cotton paper can't handle the water needed. It buckles and warps, creating valleys where paint pools and mountains where it doesn't. Stretching helps, but cheap paper often still buckles.
- Absorbency Problems: Poor quality paper either absorbs paint too quickly (dulling colors and preventing blending) or repels it (causing paint to bead up and dry unevenly).
- Surface Damage: Cheap paper is fragile. Overworking (Mistake #1!) or even light lifting can tear or pill the surface, leaving rough patches. You can't achieve clean washes or fine details.
- Color Issues: The brightness and transparency of your paints depend on light reflecting through the pigment and back from the white paper. Cheap, off-white, or buff paper dulls your colors from the start. Acidic paper will also yellow over time.

-
The Essentials of Watercolor Paper:
- Cotton Content: This is essential for serious work. 100% cotton paper is best. It's strong, absorbs water evenly, withstands scrubbing (within reason!), and holds pigment beautifully. Look for "100% Cotton" or "Rag" on the label. Student papers often use wood pulp or blends – okay for very light practice, but not for finished pieces.
- Weight: Measured in pounds (lb) or grams per square meter (gsm). 140lb (300gsm) is the minimum you should use. It still needs stretching for heavy washes, but it's manageable. 300lb (640gsm) is luxurious and usually doesn't buckle without stretching. Avoid 90lb paper for painting!
-
Surface Texture:
- Rough: Strong texture. Great for textured effects, landscapes, and expressive marks. Holds washes well, but detail can be harder.
- Cold Press: Medium texture. The most popular and versatile. Good for washes and detail.
- Hot Press: Smooth surface. Excellent for fine detail, illustration, and smooth washes. Less forgiving of mistakes.
-
Choosing Your Paper:
| Feature | Budget Practice | Serious Work/Finished Pieces | Top-Tier Luxury |
|---|---|---|---|
| Cotton Content | Wood Pulp/Blend (e.g., Canson XL) | 100% Cotton (e.g., Arches, Saunders Waterford) | 100% Cotton (e.g., Arches, Saunders Waterford) |
| Weight | 140lb (300gsm) | 140lb (300gsm) or 300lb (640gsm) | 300lb (640gsm) |
| Texture | Cold Press | Cold Press, Rough, or Hot Press | Cold Press, Rough, or Hot Press |
| Best For | Practice, sketches, testing | Final paintings, learning techniques | Exhibition pieces, advanced techniques |
| Stretching Needed? | Often, even at 140lb | Usually for 140lb, rarely for 300lb | Rarely needed |
-
Paper Tips:
- Buy Samples First: Before buying a whole pad, buy individual sheets of different brands/textures to test.
- Stretch Cheaper Paper: If using 140lb, learn to stretch it to minimize buckling. It’s a useful skill.
- Store Paper Flat: Keep unused paper flat under a weight to prevent curling.
Bonus Mistakes! (Because Three Isn't Always Enough)
While those three are the biggest problems, other mistakes can ruin your watercolor fun:
- Ignoring Values: Focusing on color and forgetting light, dark, and mid-tones. A good value sketch makes a big difference!
- Using Dirty Water: That murky brown water? Using it to mix paint leads to muddy colors. Change your water often!
- Poor Brush Care: Good brushes are an investment. Clean them gently after every use, reshape the tips, and store them upright or flat (never bristles-down!).

FAQs: Answers to Your Watercolor Questions
Q1: Can I ever fix a watercolor mistake?
A: Sometimes! You can lift wet paint with a clean, damp brush or sponge. Dry paint can be carefully lifted with a stiff brush, sandpaper (very gently!), or masking fluid applied beforehand to protect whites. But prevention (patience, planning) is better! Embrace the flow and work around the "mistake" – it might become a good thing.
Q2: I see artists using many layers. How do they avoid mud?
A: DRYING TIME IS ESSENTIAL! They let each layer dry completely before adding the next. They also use transparent pigments and understand color mixing (avoid layering complementary colors while wet!). Glazing (thin transparent layers over dry paint) is a key technique for depth without mud.
Q3: Do I really need expensive brushes?
A: Not necessarily expensive, but you need good brushes. A few good quality synthetic or synthetic/sable blend rounds (sizes 6, 10) and a decent 1-inch flat wash brush are a great start. Avoid floppy, cheap bristles that don't hold a point or water. Take care of them, and they'll last.
Q4: What's the best advice for a beginner?
A: Be Patient and Kind to Yourself! Watercolor takes time to learn. Focus on water control and paper first. Experiment on scrap paper. Celebrate small successes and learn from mistakes. Everyone makes them. Google "famous artist watercolor failures" if you don't believe me!

Conclusion: From Frustration to Flow – Your Watercolor Journey Begins!
So, there you have it – the three main reasons for watercolor problems: overworking your painting, struggling with water control, and using bad paper. Knowing what are three common mistakes that people make when using watercolor? is a big step! These aren't signs you're "bad at art"; they're normal parts of learning watercolor.
With this knowledge – the importance of drying time, water-paint balance, and good cotton paper – you’re already ahead. Remember, watercolor is a dance. Respond to the medium, guide the flow, and don't force it. It requires observation, patience, and a willingness to accept its fluid, unpredictable nature.
Don't be discouraged by mistakes. Every artist has "learning pieces." Learn why it happened and try again. Experiment. Play. Test colors and water on scraps before painting. Celebrate the moments when the paint flows perfectly, when a wash settles beautifully, when a color sings.
Put down that cheap paper, grab some good 140lb cotton, mix a juicy but controlled wash, lay it down… and then put the brush down! Let the watercolor magic happen. You've got this. Now go make some beautiful (and intentional!) paintings! Happy painting!